
Leather Bag Hardware Explained: A Manufacturer’s Guide to Zippers, Buckles, Rivets and Fasteners That Last
Leather Bag Hardware Explained: A Manufacturer’s Guide to Zippers, Buckles, Rivets and Fasteners That Last
Ask most people what makes a leather bag good, and they will talk about the leather. Ask our repair department, and they will tell you a different story: most bags that come back for repairs do not fail because of the leather. They fail because of the hardware. A zipper that jams, a rivet that works loose, a magnetic snap that stops holding, a buckle that bends — these are the silent killers of customer satisfaction, and they are decided long before the bag is ever stitched.
Hardware is the skeleton of a leather bag. It carries the stress at the straps and handles, it opens and closes the bag thousands of times, and it is the first thing a customer touches when they pick the product up. A bag can have the finest full-grain leather in the world and still fail in a year if its zipper was chosen badly or its rivets were pressed wrong. Conversely, a modest leather bag with excellent hardware can deliver years of flawless service.
This guide takes you through the hardware side of leather bag manufacturing from a factory’s perspective: every component in the bag, how each one is chosen, how it is installed, how it fails, and how to select hardware that genuinely lasts.
- Why Hardware Decides a Bag’s Lifespan
- The Hardware Family: What Lives Inside a Leather Bag
- Zippers: The Most Failure-Prone Component
- Buckles and Clasps: Form and Function
- Rivets and Studs: The Silent Fasteners
- Magnetic Snaps and Push-Button Closures
- D-Rings, Feet and the Supporting Cast
- Hardware Materials Compared: A Reference Table
- Matching Hardware to Leather: Thickness, Stress and Finish
- From the Factory Floor: How We Select and Test Hardware
- The Hardware Decision Matrix by Bag Type
- Common Hardware Failures and How to Prevent Them
- Cost vs. Value: What Good Hardware Actually Costs
- Frequently Asked Questions
- Final Word from the Factory
Why Hardware Decides a Bag’s Lifespan
The leather on a bag rarely fails on its own. It wears, it patinas, it softens — but catastrophic failure usually happens where the leather meets the metal. The strap tears at the D-ring. The zipper teeth spread apart after the tape weakens. The magnetic snap loses its pull. The rivet loosens and the handle works free. In each case, the visible cause is hardware, and the root cause is a decision made during design or manufacturing.
The arithmetic of failure. A leather bag contains dozens of hardware components — a typical handbag has a zipper, a magnetic snap, four to eight rivets, two to four D-rings, feet, and often a buckle or clasp. Each component has a failure probability, and the bag fails when any critical component fails. Multiply dozens of components across a production run of thousands of bags, and the number of bags that will experience at least one hardware failure in their lifetime becomes a statistical certainty. The only question is whether the failure rate is 0.1 percent or 5 percent — and that difference is decided entirely by the quality of the hardware chosen and installed.
Why customers notice. Hardware failures are not subtle. A jamming zipper is annoying every single day. A snap that will not hold means the bag will not stay closed. A broken strap attachment makes the bag unusable. These are the failures that generate returns, refunds, and one-star reviews — and they are the failures customers blame on the brand, not on the component. The hardware specification is, in effect, a direct investment in the brand’s reputation.
The Hardware Family: What Lives Inside a Leather Bag
Before diving into each component, it helps to see the full cast. A well-designed leather bag typically includes:
- Zippers — for main openings, interior pockets, and exterior pockets
- Buckles and clasps — for strap adjustment and bag closures
- Rivets — for reinforcing stress points and attaching hardware
- Magnetic snaps and push-buttons — for quick closures
- D-rings and O-rings — for attaching straps and accessories
- Feet and corner protectors — for protecting the base
- Turn-locks and frame closures — for structured bags
- Pulls, tips, and cords — the finishing details
Each component is a mini-engineering problem: it must match the leather’s thickness, carry the bag’s real loads, survive years of use, and look like part of the design. The sections below cover the components that matter most — the ones whose failure destroys the product.
Zippers: The Most Failure-Prone Component
If there is one component that decides a leather bag’s reputation, it is the zipper. It is the most used moving part in the bag, the most likely to fail, and the component customers interact with most.
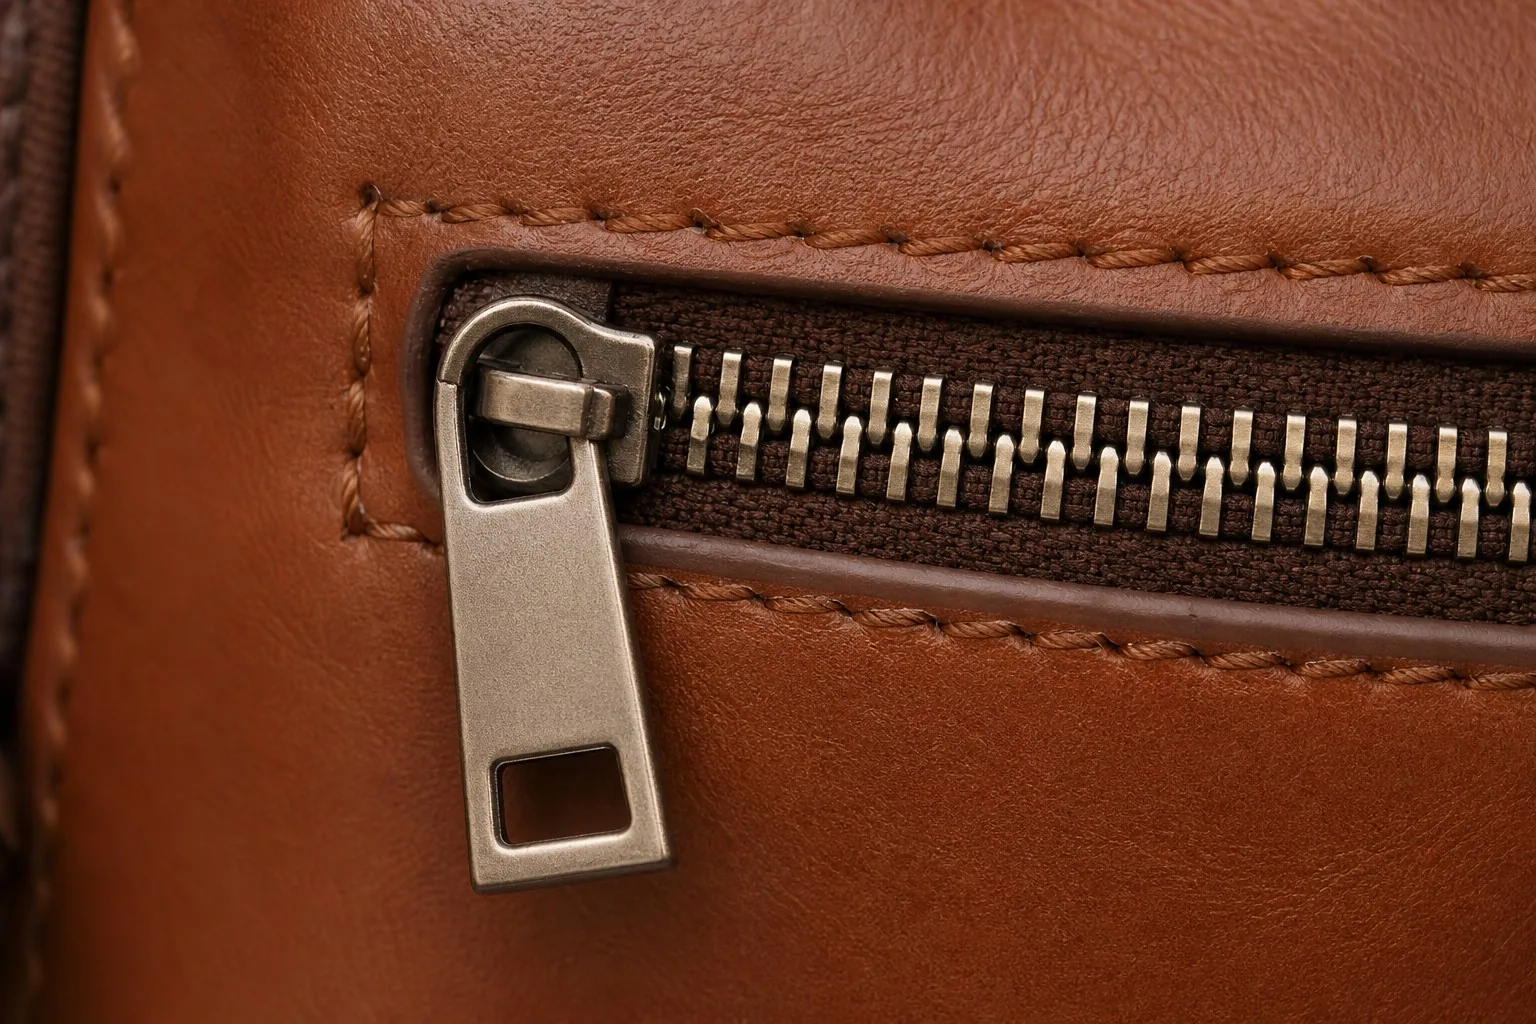
Zipper anatomy in plain language. A zipper is a tape (the fabric strips sewn into the bag), a chain of teeth (metal or molded plastic), a slider (the piece that moves up and down), and a pull (the tab you hold). Quality is determined by all four parts working together: the tape must be strong and stable, the teeth must mesh precisely, the slider must engage the teeth correctly, and the pull must be attached durably.
Coil zippers vs. metal zippers. The two main families suit different jobs. Coil zippers use continuous nylon or polyester coils, which mesh smoothly, flex around curves easily, and are light and quiet — the standard choice for interior pockets and most bag openings. Metal zippers use individual metal teeth — brass or alloy — which are heavier, more durable, and visually striking, making them the choice for exterior closures and premium designs. Metal zippers are also more expensive and slightly more temperamental: they need a quality slider matched to the exact tooth profile, and a mismatched slider is a jam waiting to happen.
The size question. Zippers are sized by the width of the chain in millimeters — common bag sizes run from 3 mm (small interior pockets) to 10 mm (heavy-duty exteriors). The size must match the job: a 3 mm zipper on a main opening carrying daily loads will strain and fail; a 10 mm zipper on a tiny pocket looks clumsy and adds needless weight. Size the zipper to the stress it will carry, not to aesthetics alone.
Quality signals worth knowing. On a quality zipper, the teeth mesh with a clean, even line; the slider moves smoothly in both directions without forcing; the pull is solidly attached; and the tape is dense and stable. Cheap zippers show up in the details: wavy teeth, sloppy pulls, stiff or loose sliders, and tape that wrinkles under the stitching. When we specify zippers for production, we test every batch by cycling them — opening and closing hundreds of times — before approving them for assembly.

Buckles and Clasps: Form and Function
Buckles and clasps carry the double duty of adjusting fit and closing the bag — and they are the hardware most visible to the eye.
Roller buckles. The roller buckle is the workhorse of strap adjustment: a frame with a central bar and a rolling pin that locks the strap when tension is applied. Quality roller buckles have smooth, well-finished bars and pins that rotate freely — a rough pin will chew into the leather strap over time. They are specified by strap width, and the buckle must match the strap exactly: too tight, and the strap will not adjust; too loose, and it will slip under load.
Frame clasps and turn-locks. Frame clasps — the folding metal frames used on structured bags — and turn-locks — the rotating locking mechanisms on flap bags — are the closures of choice for premium, structured designs. Both are precision components: the parts must align exactly, the lock must engage with a satisfying click, and the mechanism must withstand thousands of open-close cycles. Because they are visible and tactile, their finish quality is part of the product’s perceived value.
The finish matters as much as the function. A buckle is touched constantly, so its plating determines how it ages. Quality plating — whether brass, antique, nickel, or matte black — is thick enough to resist wear and is applied over a properly prepared base. Cheap plating flakes within months, and a flaking buckle on a premium leather bag is the fastest way to destroy the product’s perceived quality. The plating specification belongs in the tech pack, as precisely as the leather’s color.
Rivets and Studs: The Silent Fasteners
Rivets are the most overlooked hardware in a leather bag — and among the most failure-critical. They reinforce stress points, attach hardware to leather, and hold the bag together at exactly the places that carry the most load.
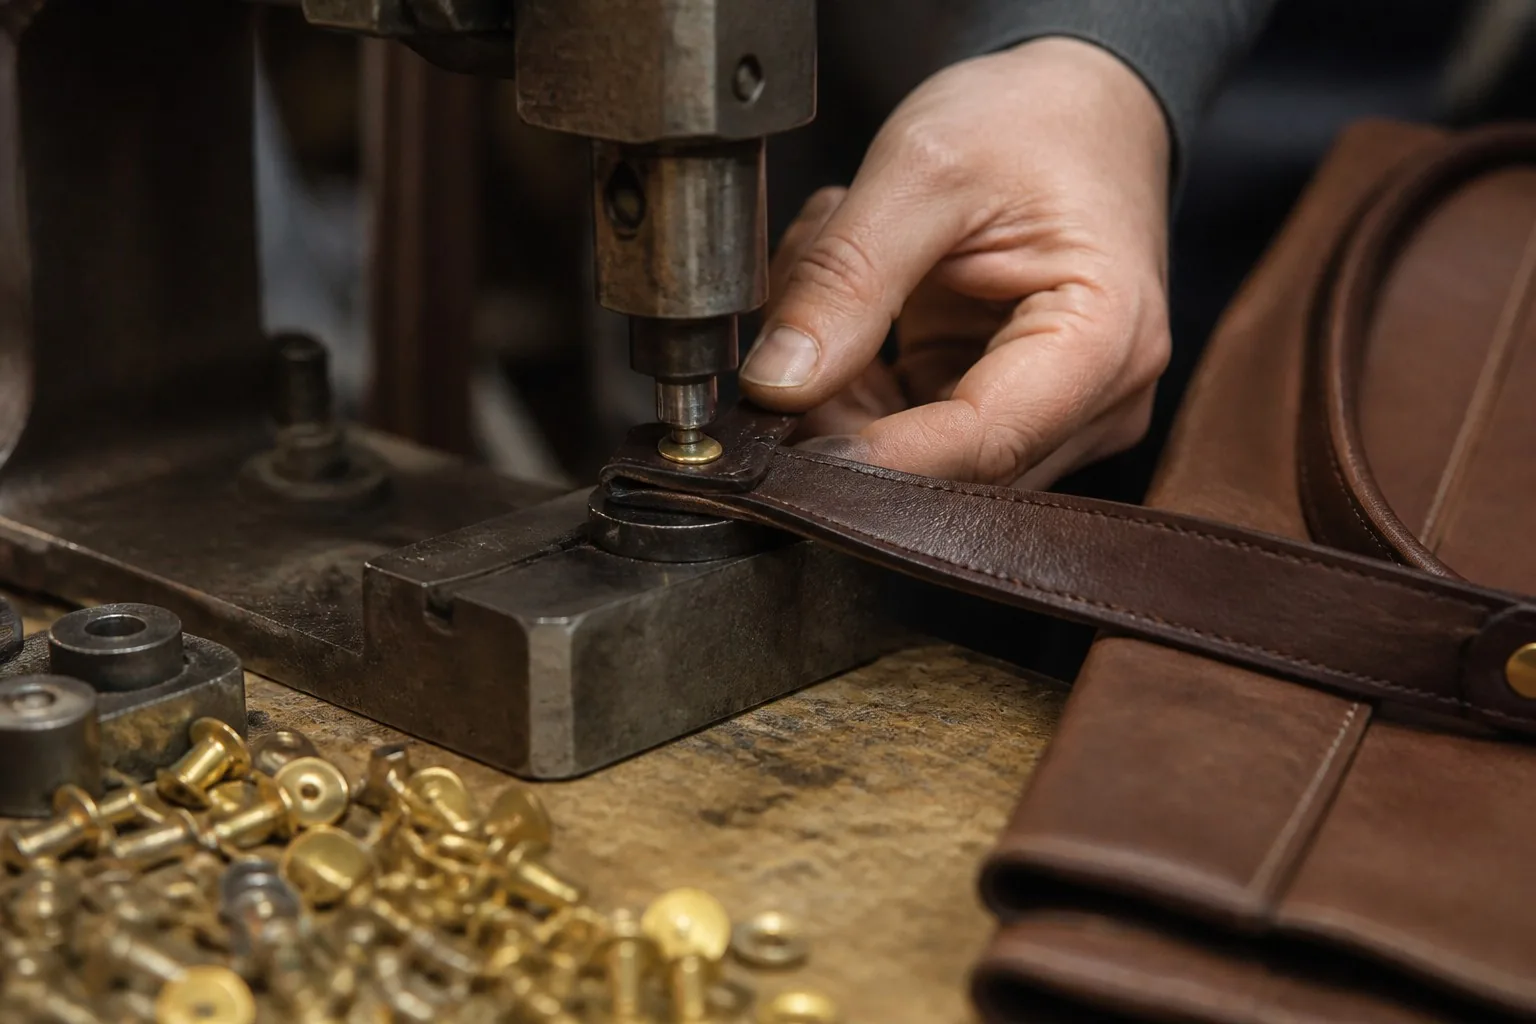
Where rivets earn their keep. A strap attached to a bag body with stitching alone will eventually tear at the seam under load. A rivet through the same point spreads the load, reinforcing the attachment and preventing the leather from tearing. Rivets are standard at strap attachments, handle bases, D-ring anchors, and the corners of heavy bags. The difference between a bag whose handle survives years and one whose handle tears out in months is often just the presence — and quality — of the rivets.
The riveting process is a precision operation. Rivets are installed with a press that applies exactly the right pressure to form the rivet’s back. Over-press and the rivet crushes the leather and weakens the panel; under-press and the rivet works loose over time. The press must be matched to the rivet size, the leather thickness, and the reinforcement layers. A quality factory sets and checks the press for every product, because the pressure that is perfect for one bag is destructive for another.
Studs and decorative fasteners. Studs — the small metal points used decoratively or for attaching straps — are installed by the same pressing process. Their quality shows in the same places: uniform placement, secure seating, and clean edges. A stud that is crooked or loose is the kind of detail customers notice unconsciously — it reads as “cheap” even when they cannot say why.
Magnetic Snaps and Push-Button Closures
Magnetic snaps are the modern convenience of the bag world — the quick, one-handed closure that most everyday bags use for their main opening. Their simplicity hides real engineering.
How magnets work in bags. A magnetic snap is a pair of disc magnets, one mounted on each side of the opening, that pull together to close. The quality variables are the magnet’s strength, the mounting, and the alignment. A weak magnet will not hold the bag closed; a strong one can be difficult to open and can interfere with nearby electronics. The strength must be matched to the bag’s weight and the flap’s stiffness.
Alignment is everything. A magnetic snap works only when the two halves align perfectly — which means the mounting positions on both sides of the opening must be located from the same reference points during assembly. Misaligned snaps are among the most common hardware defects in production: the bag looks fine, but the closure does not hold. Quality factories check every snap’s action during assembly, and adjust or rework any bag where the halves do not meet cleanly.
Push-button closures. Spring-loaded push-buttons — the kind used on many satchel flaps — are precision mechanisms that must be matched to the leather’s stiffness and the bag’s closure design. They fail most often through misalignment and weak springs. As with magnetic snaps, the assembly precision determines the lifetime of the closure.
D-Rings, Feet and the Supporting Cast
The remaining hardware members are smaller, but each has a job that affects the bag’s lifespan.
D-rings and O-rings attach straps to the body and accessories to the bag. They carry the full weight of the bag through the strap, so their strength and their attachment to the leather are critical. The D-ring’s opening must be large enough for the strap or hook without binding, and its mounting point must be reinforced inside the leather. We specify D-rings by their width and material, and we test their attachments under load before production.
Feet and corner protectors protect the base of the bag from the surfaces it is set down on. A bag without feet wears its bottom corners and base edge — the first places to show damage. Metal feet are pressed into the base during assembly, and their placement and seating must be precise. They are a small component with a large protective role.
Pulls, tips, and zipper pulls are the finishing details customers touch constantly. Their quality — the smoothness of a zipper pull, the clean edge of a strap tip — shapes the product’s perceived value out of proportion to their size. In premium production, these details receive the same specification rigor as the main hardware.
Hardware Materials Compared: A Reference Table
| Material | Strength | Weight | Finish options | Typical uses | Durability |
|---|---|---|---|---|---|
| Zinc alloy | Good | Medium | Excellent | Cast buckles, turn-locks, D-rings | Good (plating-dependent) |
| Brass | Good | Heavier | Excellent, ages nicely | Buckles, rivets, feet, heritage styles | Very good |
| Stainless steel | Highest | Heavy | Limited (brushed/silver) | Heavy-duty straps, industrial styles | Highest |
| Aluminum | Medium | Light | Good | Lightweight fashion hardware | Medium |
| Plated steel | High | Heavy | Varies with plating | Budget hardware | Plating-dependent |
The material choice is a triangle of strength, weight, and cost — and the plating quality is a variable in every cell. In our experience, the single most important hardware decision is not the base material but the quality of the plating and finish, because that is what customers see and what fails visibly over time.
Matching Hardware to Leather: Thickness, Stress and Finish
Hardware does not exist in isolation — it must be matched to the leather it is attached to, and getting this match wrong is a classic failure mode.
Thickness matching. The leather’s thickness determines the hardware’s required post length, rivet length, and mounting depth. A rivet specified for 4 oz leather will not seat correctly in 6 oz leather — it either crushes the thicker panel or works loose in the thinner one. Every hardware component has a specification for the leather thickness range it fits, and the tech pack must state both sides of the match.
Stress matching. The hardware at a stress point must be strong enough for the loads it will carry — and the leather around it must be reinforced to match. A heavy strap with a light D-ring fails at the ring; a strong ring on unreinforced leather fails at the leather. The reinforcement plan and the hardware specification are two halves of the same engineering decision, and neither works without the other.
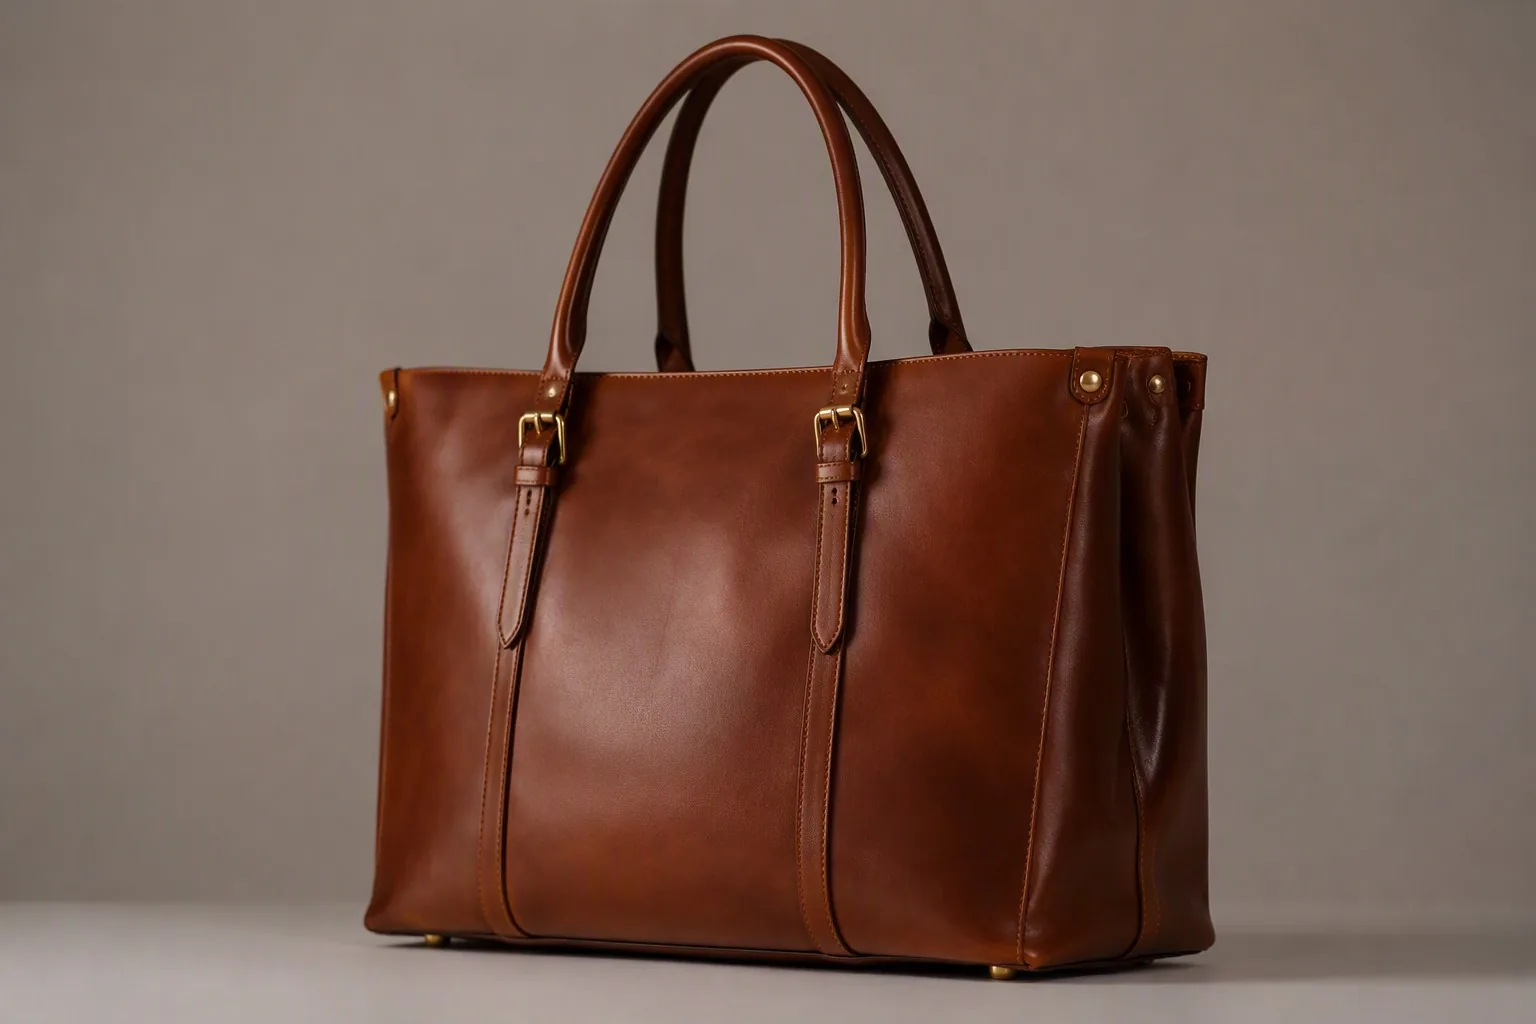
Finish matching. The hardware finish should harmonize with the leather’s color and the bag’s style — antique brass with warm browns, matte black with modern designs, polished nickel with refined greys. The finish also has practical implications: some finishes are more scratch-resistant, and some patina beautifully over time. The hardware finish is part of the design palette, specified with the same intent as the leather color.
The golden rule. When we review a new design, we check every hardware-to-leather interface: the thickness match, the stress match, the reinforcement, and the finish. A bag that passes all four checks is a bag built to last; a bag that skips any one is a future repair waiting to happen. The hardware is not an accessory to the leather — it is a partner, and the partnership must be engineered, not assumed.
From the Factory Floor: How We Select and Test Hardware
Hardware selection follows a disciplined process in our factory, and it is the process that produces bags that do not come back.
1. Start with the stress map. Before any hardware is chosen, we map the bag’s stress points: the strap attachments, the handle bases, the main opening, the base. Every component is then sized against the load it will carry, with a safety margin for real-world abuse.
2. Specify from approved sources. We maintain an approved supplier list for every hardware category — zippers, buckles, rivets, snaps, rings — built from years of testing and field performance. New suppliers are qualified with samples and tests before they enter the list, and every production order references the approved specification.
3. Run the cycle test. Moving components — zippers, snaps, turn-locks — are cycled hundreds of times on test rigs to expose premature failure. A zipper that jams at cycle 200 is a zipper that fails in the customer’s hands; the cycle test finds it at cycle 200, before it ever ships.
4. Run the pull test. Load-bearing hardware — D-rings, straps with hardware, handle attachments — is tested under load, typically with weights exceeding the bag’s real-world maximum. The test reveals stretching, deformation, and attachment failure before production, and it validates both the hardware and its reinforcement.
5. Check the plating. Plating quality is checked by abrasion and by inspection under magnification. Flaking, blistering, or uneven plating rejects the batch — because the plating is what the customer sees and what fails visibly.
6. Inspect the installation. In-line inspection checks every installed component: zippers slide smoothly, snaps align and hold, rivets are seated flush, buckles operate correctly. Hardware defects are caught at the workstation where they cost seconds to fix, not at final QC where they cost the whole bag.
The Hardware Decision Matrix by Bag Type
| Bag type | Main opening | Straps/attachments | Base | Priority components |
|---|---|---|---|---|
| Diaper bag | Heavy coil zipper or magnetic snap | Reinforced D-rings, riveted straps | Feet, reinforced corners | Zipper, strap anchors |
| Backpack | Heavy coil zipper | Riveted D-rings, reinforced handle | Feet, reinforced base | Strap anchors, handle |
| Structured tote | Magnetic snap or turn-lock | Riveted handle bases | Feet | Handle bases, closure |
| Slouchy tote | Magnetic snap | Reinforced handle attachment | Optional | Handle attachment |
| Crossbody | Coil zipper or snap | Riveted strap anchors, quality slider | Optional | Strap anchors |
| Wallet / small goods | — | — | — | Snap button, card-slot stitching |
| Clutch / evening | Frame clasp or magnetic snap | Light hardware | Optional | Clasp, finish quality |
| Travel bag | Heavy metal or coil zipper | Heavy riveted D-rings | Strong feet | Zipper, D-rings, feet |
| Work bag / briefcase | Turn-lock or metal zipper | Riveted handle, reinforced corners | Feet, corner protectors | Lock, handle, corners |
Common Hardware Failures and How to Prevent Them
Every component on this list has a characteristic failure mode, and every failure has a prevention. Here are the ones we see most often in returned products.
The jamming zipper. Usually a mismatched slider-and-tooth combination, a low-quality slider, or a zipper undersized for the stress. Prevention: specify the zipper from an approved source, match the slider to the exact tooth profile, and cycle-test every batch.
The loose rivet. Caused by under-pressing, the wrong rivet length for the leather thickness, or missing reinforcement. Prevention: match rivet length to thickness, set the press correctly, and check seating in-line.
The crushed rivet. Caused by over-pressing, which compresses and weakens the leather around the fastener. Prevention: press calibration per product and operator training.
The failed magnetic snap. Weak magnet, misalignment, or a magnet too strong for the flap. Prevention: specify magnet strength to the bag’s weight, locate both halves from common reference points, and check every snap’s action during assembly.
The flaking finish. Cheap plating on buckles, rings, and pulls — visible failure within months. Prevention: plating specification in the tech pack, incoming plating inspection, and approved suppliers.
The torn strap attachment. Stitching alone carrying a load that needed reinforcement and rivets. Prevention: stress mapping at design time, reinforcement at every load-bearing attachment, and pull testing before production.
The misaligned turn-lock. A turn-lock that does not engage cleanly, caused by locating the two halves from different reference points. Prevention: locate both halves from the same pattern reference, and check every closure during assembly.
The stretched zipper tape. The fabric tape of a cheap zipper stretches under load, causing the teeth to separate and the zipper to burst open. Prevention: specify zippers with dense, stable tape from approved sources, and avoid undersized chains on heavily loaded openings.
Cost vs. Value: What Good Hardware Actually Costs
Hardware is one of the smallest line items in a bag’s cost — and one of the most visible ways a factory can quietly cut quality. A quality zipper costs a few times more than a budget one, a quality rivet costs pennies more, and the difference in finished cost is usually well under a dollar per bag. Yet that sub-dollar difference is the entire gap between a bag that slides smoothly for five years and one that jams within six months.
Why cheap hardware is a false economy. The savings on hardware are invisible in the product and catastrophic in the field. A returned bag costs the brand the product, the shipping, the refund, and the customer. The arithmetic is brutal: one returned bag can erase the hardware savings from hundreds of units. Quality hardware is not an expense — it is the cheapest insurance a bag brand can buy.
Where the value actually sits. The customer does not know the zipper’s brand or the rivet’s alloy — but they feel the smoothness, the solidity, and the reliability, and they translate those feelings into the brand’s perceived quality. Hardware is one of the few components where a small cost increase produces an outsized improvement in customer satisfaction. It is, dollar for dollar, the highest-value quality investment in the entire bag.
A manufacturer’s rule: hardware is chosen twice — once for how it looks, and once for how it fails. The second choice is the one that protects the brand.
Frequently Asked Questions
Which hardware component fails most often in leather bags?
Zippers fail most often — they are the most-used moving part and the most sensitive to quality and installation errors. Magnetic snaps and rivets at stress points are the next most common failure sources. All three are preventable with quality specification and disciplined installation.
Are metal zippers always better than coil zippers?
No. Metal zippers are heavier, more durable, and more visually striking, which suits exterior closures and premium designs. Coil zippers mesh more smoothly, flex around curves, and are lighter and quieter — the right choice for interior pockets and many bag openings. Choose by the job, not by prestige.
Why do rivets matter so much in a leather bag?
Rivets reinforce the stress points — strap attachments, handle bases, D-ring anchors — where stitching alone would eventually tear under load. They are among the most failure-critical components in a bag, and their quality and installation determine whether attachments survive years or months.
How can I tell if a bag’s hardware is good quality?
Test it by hand. Zip the zipper slowly both ways — it should move smoothly without forcing. Open and close the snap several times — it should engage cleanly every time. Inspect the plating under light — it should be even, with no flaking or blisters. And check that hardware is seated flush against the leather, with no wobble.
Does hardware finish affect durability?
Yes. The plating quality determines how the hardware ages: quality plating resists wear and patinas gracefully, while cheap plating flakes within months. The finish is both a design element and a durability specification — specify it in the tech pack as precisely as the leather color.
Should hardware match the leather thickness?
Yes. Rivet lengths, post lengths, and mounting depths are specified for a leather thickness range. Mismatched hardware either crushes thicker leather or works loose in thinner panels. Every hardware-to-leather interface should be checked for the thickness match before production.
What is the best hardware material for a leather bag?
There is no single best — it is a triangle of strength, weight, and cost. Zinc alloy offers the best finish options for cast components, brass is durable and ages attractively, and stainless steel is strongest but heavy. The plating quality matters more than the base material for visible longevity.
How do I specify hardware in my tech pack?
List every component with its type, size, material, finish, and approved supplier — for example, “10 mm antique-brass metal zipper, brand-qualified, exterior main opening.” Include the leather thickness each component must match and the stress points that require reinforcement. Complete hardware specifications are the difference between a smooth production run and a round of failures.
Final Word from the Factory
The leather is the soul of a bag, but the hardware is its skeleton — and a bag is only as good as the skeleton that holds it together. The zipper that slides smoothly, the snap that engages with a clean click, the rivet that holds the strap through years of use: these are the details that make a bag feel expensive, and they are the details that decide whether it survives.
At our factory, we treat hardware with the same seriousness as leather. We specify every component, test every batch, calibrate every press, and inspect every installation. We have seen too many beautiful bags fail on a ten-cent component to ever take the hardware specification lightly.
When you plan your next bag, bring the hardware into the design conversation from the start. Map the stress points, specify the components with the same precision as the leather, and test the finished product the way your customer will — by using it. A bag whose hardware is engineered to last is a bag that builds the trust on which every leather brand is founded. That trust, like the hardware itself, is worth investing in.
