
How Do Seam Allowances Change the Way a Leather Bag Is Built?
How Do Seam Allowances Change the Way a Leather Bag Is Built?
A seam allowance looks like the simplest thing on a pattern: a strip of extra material left beyond the stitching line. In leather, that strip decides how thick a seam becomes, whether a corner turns cleanly, how much the bag weighs, how much material the order consumes and whether the finished panels match the drawing.
As a bag manufacturer, we set allowances per component rather than per product, and we revise them whenever thickness, reinforcement or closing method changes. This guide explains why leather needs its own allowance logic, how allowances are chosen and marked, how they interact with thickness and reinforcement, how tolerances stack up across components, and what a buyer should ask when a pattern is confirmed.
A pattern with the wrong allowance still looks correct on paper. The problem only appears at the machine, where it becomes thickness, bulk or a corner that will not lie flat.
- Why Seam Allowance Is a Design Value
- Why Leather Behaves Differently From Fabric
- How Allowance Is Set for a Component
- The Variables That Change the Allowance
- Allowance by Seam Type
- Closing, Trimming and Bulk
- Allowance at Edges, Zips and Openings
- Allowance and Reinforcement
- Tolerance Stack-Up Across Components
- Grading Allowances Across Sizes
- Allowance and Material Consumption
- Marking and Communicating Allowance
- Sampling and Testing Allowance Choices
- Records and Change Control
- Working With the Pattern Maker
- Common Mistakes With Seam Allowances
- Frequently Asked Questions
- The Bottom Line
Why Seam Allowance Is a Design Value
It is not just a cutting margin.
What the Allowance Controls
More than the seam.
The allowance determines how much material is folded into a joint, how much bulk sits under the presser foot, how a turned edge behaves, how large the finished bag is relative to the pattern and how much leather the order consumes. Changing it changes all of these at once.
Why It Is Usually Wrong on the First Pattern
Patterns are often inherited from another material.
Where a pattern originated in fabric or in a different leather, its allowance usually reflects the original material’s thickness and behaviour. Leather that is thicker, stiffer or less compressible than the original will not close the same way, and the allowance has to be revisited rather than assumed.
Why It Belongs in the Specification
Cost and quality follow it.
Because allowance drives material consumption and seam behaviour, it belongs in the technical specification alongside thickness and temper, not in a folder of working drawings that only the sample room refers to.
Why Leather Behaves Differently From Fabric
The material changes the rules.
Thickness and Bulk
Leather does not compress like cloth.
Fabric allowance folds almost flat because the material compresses and the fibres slide; leather keeps most of its volume, so a seam that includes several layers builds up quickly. This is why leather construction often needs either thinner material at the seam or an allowance that has been skived.
No Slip, No Stretch Control
Leather holds its shape differently.
Fabric can be eased and stretched slightly to make two edges meet, while leather resists being manipulated in the same way. Allowances in leather work are therefore less forgiving and need to be correct before sewing rather than adjusted during it.
Grain and Direction
Direction affects how a seam behaves.
An allowance cut in one direction may pull differently from one cut across the hide, which is one reason identical seams can behave differently within the same bag. Direction rules matter as much for allowances as for panels.
Finish and Edge Treatment
The allowance may be visible later.
Where edges are painted, burnished or left raw, the allowance is part of the visible product, so its width and consistency have to satisfy the same appearance standard as the rest of the bag.
How Allowance Is Set for a Component
It starts with the joint.
Working From the Closed Seam
The finished dimension is the target.
The useful method is to begin from the finished seam: the stitch line position relative to the edge, the number of layers included and the space the layer stack occupies. From there the allowance is calculated so that the closed seam produces the correct distance from stitch to edge.
Matching Allowance to the Operation
Different operations need different margins.
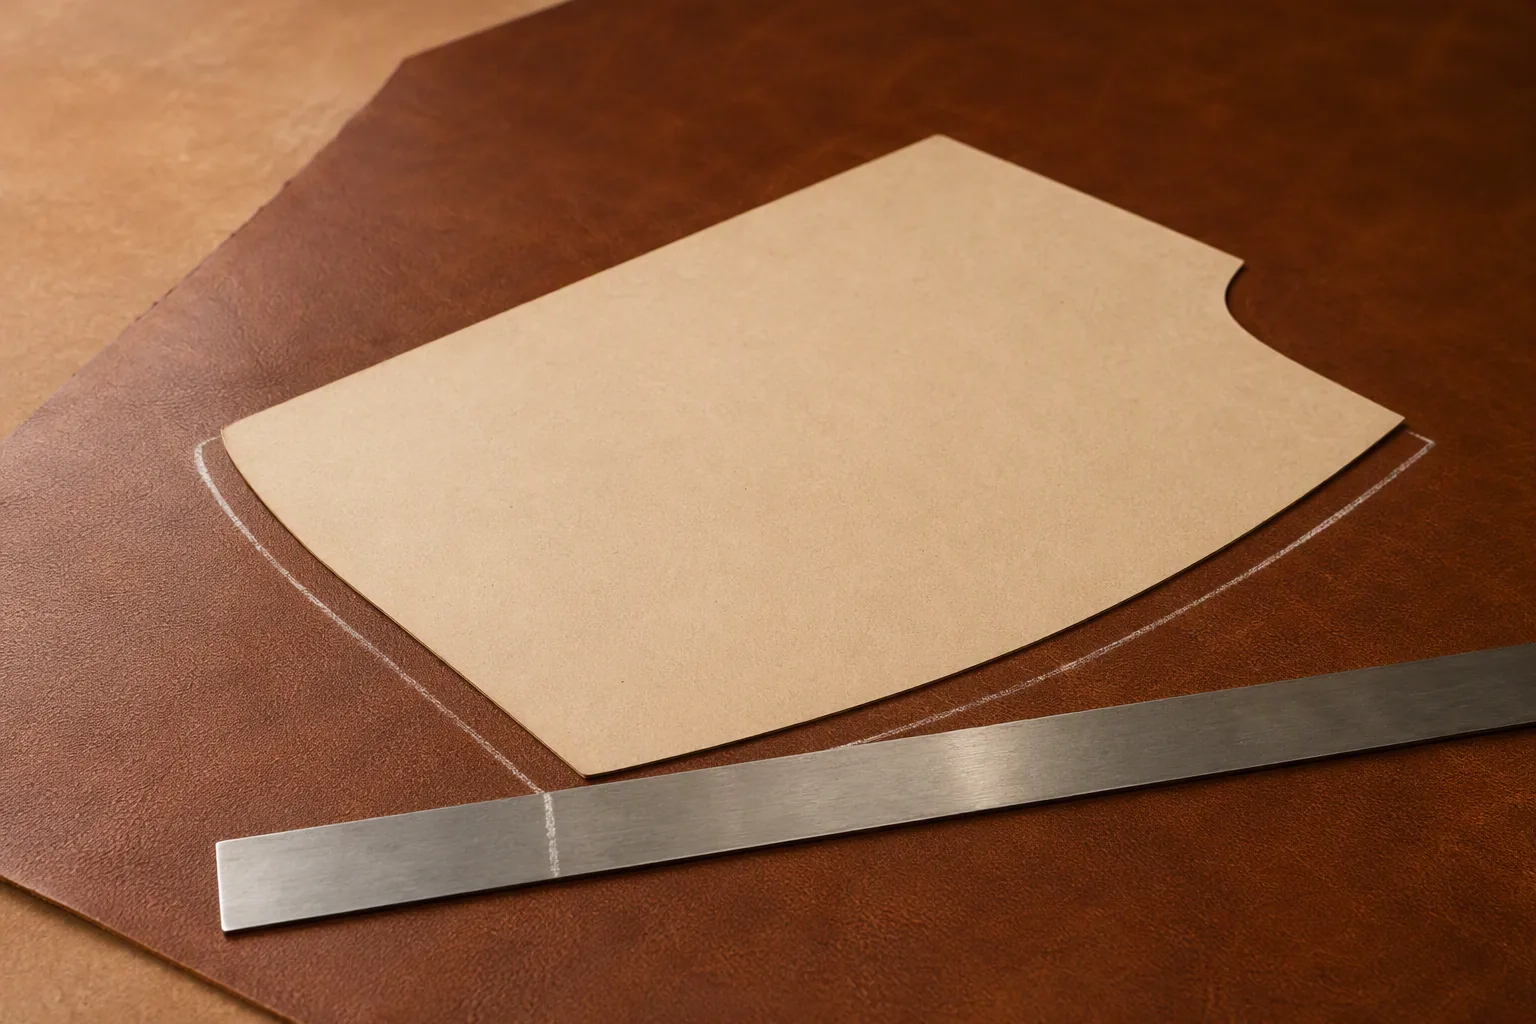
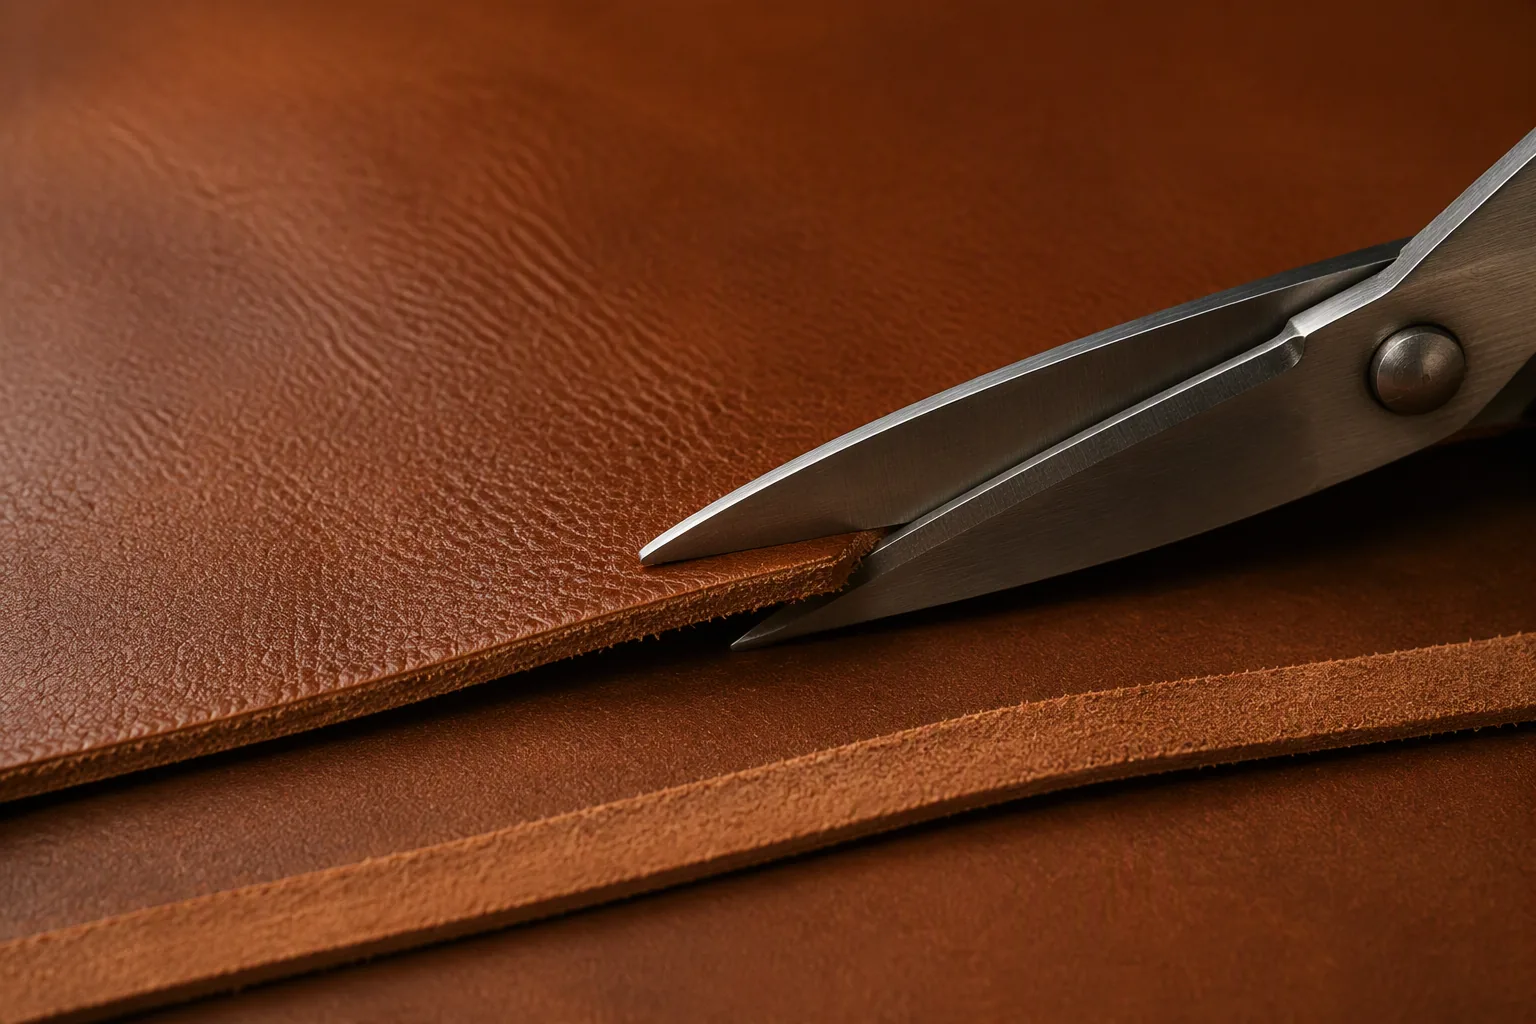
A seam that will be skived needs an allowance wide enough to skive and still leave material. A seam that will be folded needs enough to turn without starving the fold. A seam that will be trimmed after closing needs extra to allow for the trim.
The Role of the Sample
The sample room is where allowance is proved.
Allowances are best tested by closing actual panels in the actual material, because the behaviour of a specific leather at a specific thickness cannot be predicted reliably from a drawing or a paper mock-up.
Deciding Who Approves It
Allowance changes should be signed off.
Because the allowance interacts with material consumption and appearance, changes should be evaluated and approved rather than adjusted quietly at the machine. Unrecorded allowance adjustments are among the most common causes of a bulk order that does not match its sample.
The Variables That Change the Allowance
Allowance is a function, not a constant.
What Drives the Number
- Leather thickness at the seam
- Whether the allowance will be skived or split
- The number of layers in the joint
- Whether the seam will be trimmed after closing
- The radius or corner the seam must turn
- Whether the edge will be folded, bound or left raw
- The appearance standard for stitch distance from the edge
Why One Number Rarely Fits
The same bag has several allowances.
A bag whose main seams are skived and whose pocket seams are not cannot use a single allowance without producing either bulky main seams or starved pockets. Component-level thinking is what keeps the construction consistent.
Why Allowance Is Reviewed When a Material Changes
A new leather is a new allowance.
Where a programme switches article, thickness, finish or backing, the allowance should be reviewed even if the pattern is unchanged, because the layer stack behaves differently. A reformulation that closes cleanly can still produce a ridge on the visible surface once the material is stiffer.
The review is cheap at the sampling stage and expensive after cutting, which is why material substitutions belong on the same change notice as pattern revisions.
Recording the Reasoning
The number needs its context.
An allowance recorded without its material, operation and thickness becomes misleading the moment one of those changes. Recording the conditions alongside the figure is what allows a later revision to be made intelligently.
Allowance by Seam Type
Different joints, different margins.
Seam Types in Leather Bags
| Seam type | Typical construction | Allowance consideration |
|---|---|---|
| Plain closed seam | Two panels joined, opened or pressed | Sized to layer stack and skive depth |
| Folded or turned seam | Edge folded over and stitched | Enough to turn without starving |
| Bound edge | Edge wrapped with binding | Binding width plus attachment margin |
| Lapped seam | One panel overlapped onto another | Only the stitch zone needs allowance |
| Gusset attachment | Panel joined to a formed gusset | Generous allowance for curve and bulk |
| Zip insertion | Panel joined to tape | Allowance set by tape width and fold |
| Lined seam | Seam closed with lining captured | Allowance must suit both materials |
Choosing Between Skiving and Extra Allowance
Two routes to a flatter seam.
Where a seam is too bulky, the choice is usually between reducing the allowance and skiving it. Skiving produces a flatter, more controlled seam but adds an operation and a risk of over-thinning; trimming alone leaves more volume in the joint.
Matching the Stitch Line
The stitching position matters as much as the width.
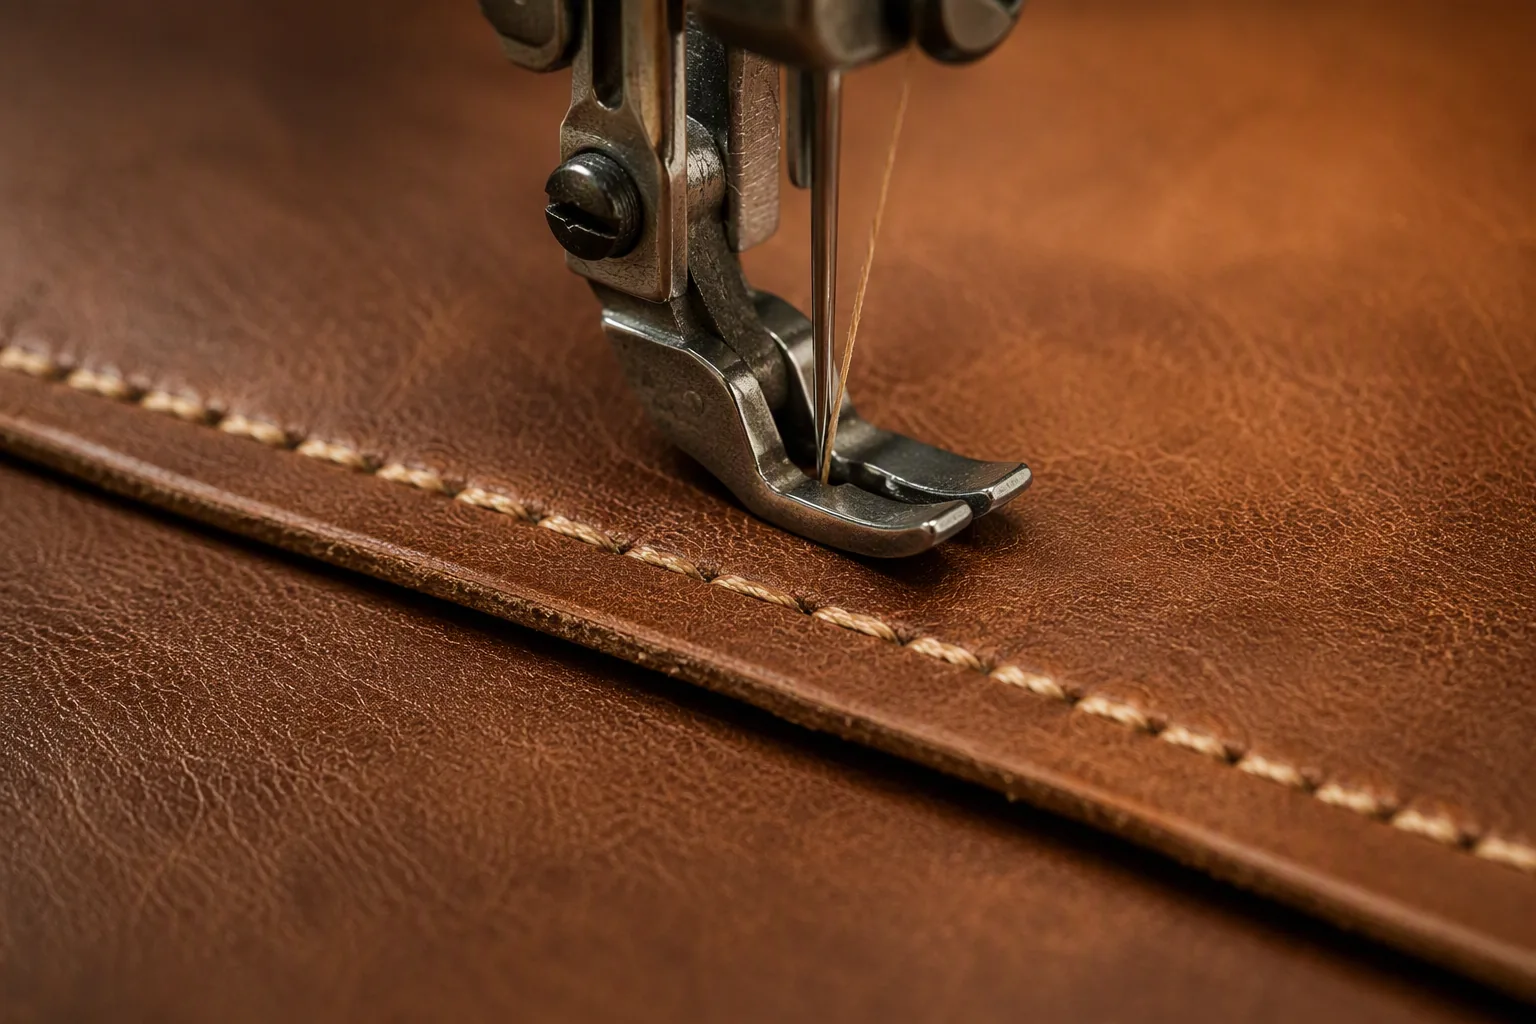
A generous allowance stitched close to the edge wastes material and leaves a wide visible margin, while a narrow allowance stitched too far from the edge risks the stitch pulling out. The two have to be decided together.
Closing, Trimming and Bulk
The allowance after sewing.
Trimming to Final Width
Not all allowances stay as cut.
Where a seam is trimmed after closing, the cut allowance must be wide enough to hold during sewing and can then be reduced to its final width. Trimming to a consistent width is what keeps stitch-to-edge distance even along the seam.
Reducing Bulk at Corners
Corners are where bulk shows.
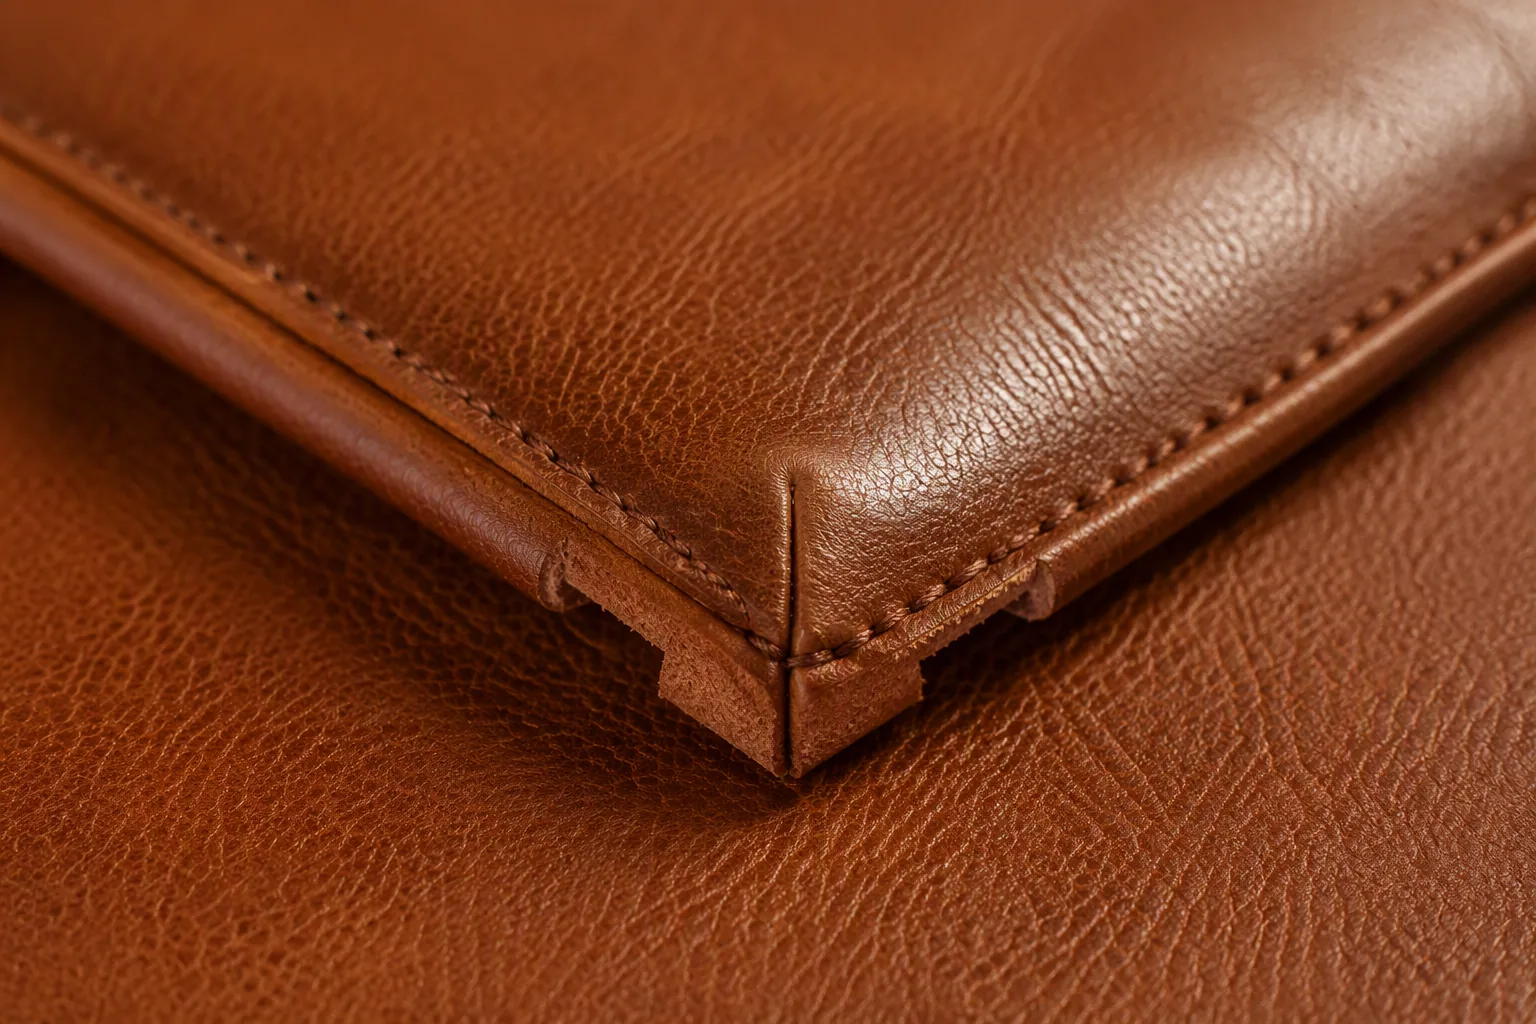
Turning a corner with a full allowance creates a lump that either distorts the panel or has to be forced flat. Clipping or skiving the allowance at the corner, and staggering the layers so that they do not all finish at the same point, is what produces a clean corner.
Pressing and Setting
Leather does not press like cloth.
Where fabric seams can be pressed flat with heat and moisture, leather seams depend more on thinning, careful turning and holding the shape while it sets. Allowance decisions should therefore assume less help from pressing than a fabric construction would.
The Test of a Good Allowance
Look at the closed seam.
A correctly chosen allowance produces a seam whose stitch distance is even, whose layers do not create a ridge on the visible surface, and whose corner sits flat without force. Where any of those require effort at the machine, the allowance is wrong.
Allowance at Edges, Zips and Openings
Openings concentrate the problem.
Bag Mouths
The top edge is always visible.
The mouth of a bag is folded, bound or reinforced, and its allowance has to allow the finishing operation while producing a straight, even edge. Because the mouth is the first thing a customer sees, its allowance should be checked on a finished sample rather than on a drawing.
Zip Openings
The tape sets the geometry.
Zip allowances depend on the tape width, the fold over the tape and whether the zip sits proud or recessed. Where the allowance is wrong, the zip loses its cover or the panels no longer align at the ends of the opening.
Flap and Pocket Edges
Small openings with tight radii.
Pockets and flaps usually combine small radii with multiple layers, which makes them the most demanding places for allowance control. They are also the places where an error is most visible, because they sit in the middle of a panel rather than at its edge.
Where Allowance Meets the Lining
Two materials in one seam.
Where a leather seam captures a lining, the allowance has to suit both materials: enough for the leather to close without starving, and compatible with a lining that may compress or fray differently. The lining allowance is usually set slightly differently from the leather allowance in the same seam.
Lining seams that are not captured but simply joined also deserve their own allowance logic, because a thin lining behaves nothing like the leather panel beside it.
Hardware Openings
Allowance around fittings.
Where hardware passes through the leather, the allowance around the hole and the reinforcement patch behind it have to be sized so the fitting sits flat and the leather does not tear at the opening.
Allowance and Reinforcement
Support interacts with seams.
Where Reinforcement Meets the Seam
The overlap should be planned.
Where a reinforcement panel ends close to a seam, the additional thickness joins the layer stack and changes how the seam closes. Reinforcement edges should be placed so that they either stop clear of the seam or are accounted for in the allowance.
Bonding and the Fold Zone
Adhesive adds bulk.
A reinforcement bonded up to the seam edge makes the allowance stiffer and harder to turn. Keeping the bonded area back from the fold, or skiving the reinforced edge, is usually necessary where both are present.
Testing the Combination
The pair behaves differently together.
Reinforcement plus allowance should be tested as a combination, in the actual materials, because the two interact. A seam that closes cleanly in unreinforced leather can become a ridge once a support layer is bonded behind it.
Thickness Varies Across the Hide
One hide is not one thickness.
A hide is thicker at the back and shoulder and thinner toward the belly and neck, which means the same allowance produces a different seam volume depending on where the panels were cut from. Where a programme cuts load-bearing and decorative panels from different areas, the seam behaviour can vary within a single bag.
The practical answer is to keep panels of a given component to comparable areas where possible, and to accept that allowance is set for the material as supplied rather than for an idealised even thickness.
Tolerance Stack-Up Across Components
Small allowances accumulate.
Where Variation Comes From
- Cutting accuracy against the pattern
- Positional variation when marking and stitching
- Thickness variation across the hide
- Skiving depth variation
- Turning and shaping by hand
- Assembly order effects
Why Stack-Up Matters
Individually acceptable, collectively wrong.
Each of those variations may be within its own tolerance while their sum shifts a critical dimension outside the finished specification. Where a dimension is built from several seams, the allowance choices determine how much room the stack has before the finished product is out of specification.
| Source of variation | Effect on the finished seam | Practical control |
|---|---|---|
| Cutting accuracy | Seam sits off position | Cut against marked allowance |
| Marking and stitching position | Variable stitch-to-edge distance | Use guides and templates |
| Hide thickness variation | Closures behave differently | Check thickness per area |
| Skiving depth | Uneven flattening | Verify skive settings |
| Hand turning and shaping | Local distortion | Standard shape and training |
| Assembly sequence | Cumulative shift | Fixed assembly order |
Designing Room for the Stack
Tolerances need a budget.
Where the finished dimensions are critical, the sum of the individual tolerances should be smaller than the finished tolerance, which usually means tightening the largest contributors rather than every contributor equally.
Grading Allowances Across Sizes
Sizes change joints, not only dimensions.
Why Allowance Is Not Simply Scaled
The material does not scale.
Where a bag is produced in several sizes, the allowance should not be scaled with the panel dimensions, because the leather thickness and the layer stack stay the same while the panel changes. Scaling an allowance produces seams that are too bulky in small sizes and too tight in large ones.
Corners at Different Scales
Radii behave differently.
A corner radius that turns cleanly on a large panel can become a hard kink on a smaller version of the same shape, because the same allowance has to travel around a tighter curve. Small sizes usually need more attention at corners rather than less.
Sampling Each Size
Every size deserves its own sample.
Where a range includes several sizes, each should be closed in sample form before bulk, because the behaviour at corners and tight radii is not predictable from the largest version. Approving a range from one sample is how a small size arrives with corners that cannot be turned cleanly.
Keeping Sizes Consistent
One construction logic across sizes.
Where a range shares a construction method, the allowance logic should be shared as well, so that a customer comparing two sizes sees the same stitch distances and the same edge treatment.
Allowance and Material Consumption
A small number with a large effect.
The Multiplier
Allowance applies to every edge.
Because each cut panel carries allowance on its perimeter, the total material consumed by allowance is the sum of all those strips rather than a single margin. On a bag with many panels, a modest change in allowance moves the order’s leather requirement.
Layout Consequences
Nesting gets harder.
Wider allowances push panels further apart, which reduces the number of panels that fit in the usable hide area. Allowance and layout should therefore be reviewed together rather than as separate topics.
Cost, Weight and Appearance
Three effects at once.
Extra allowance costs leather, adds weight at the seams and changes the bulk visible on the finished edge. Where a programme is trying to reduce weight or cost, the allowance is one of the few places a change costs nothing in tooling.
Where to Reduce First
Look at hidden seams.
Reducing allowance on an internal seam that nobody sees is usually safer than reducing it on the mouth of the bag, provided the seam still closes cleanly and holds its stitch.
Marking and Communicating Allowance
The number has to reach the cutter.
Marking on the Pattern
The pattern should carry the information.
Patterns should show the stitching line, the allowance and any skive or trim zone, so that the cutter and the machinist are working from the same information rather than from a note passed verbally.
Cutting Instructions
Instructions belong with the cutting order.
The cutting order should state the allowance per component, the direction rules and any components that are cut oversized for later trimming, so that a change of cutter does not change the result.
Guides and Templates at the Machine
Tooling carries the allowance too.
Where an allowance has to be repeated precisely, a folder guide, a marked template or a machine attachment does the remembering instead of the operator. Guides reduce variation without changing the allowance, which is often the cheaper way to fix an inconsistent seam.
Guides should be checked against the pattern when the allowance changes, because a guide that still reflects the previous figure will quietly restore the old seam.
Language and Units
Ambiguity is expensive.
Where a factory works with several units or in more than one language, units should be stated explicitly on the pattern and the instruction. A confused unit is one of the few allowance errors that survives all the way to the finished goods.
Sampling and Testing Allowance Choices
Prove it in material.
What the Sample Should Show
- The closed seam and its stitch distance
- The behaviour of the edge, folded or bound
- The corner and how it sits after turning
- The internal seams as well as the visible ones
- The effect of any reinforcement around the seam
Recording the Result
The sample is the reference.
Where an allowance has been proved on a sample, the sample and its allowance figures should be kept together so that a later revision starts from a known point rather than from a guess.
Testing Change Before Committing
Small trial, small cost.
Where an allowance change is proposed for a running product, a trial on a few panels shows the effect on bulk, appearance and dimensions before the change reaches the bulk order.
Records and Change Control
Allowances drift when nobody records them.
What to Record
| Record | Why it matters |
|---|---|
| Allowance per component | The reference for cutting and sewing |
| Material and thickness it was set for | The conditions under which it works |
| Skive and trim operations | Explains the final seam |
| Approval and date | Prevents unrecorded change |
| Reason for revision | Makes the next revision informed |
| Sample reference | Links the figure to a physical result |
Why Change Control Matters
Unrecorded change is invisible.
Where an allowance is adjusted at the machine to get a difficult seam closed, the finished goods no longer match the sample and the change will not be repeated consistently. Recording the adjustment is what turns a local fix into a decision.
Records That Survive a Busy Month
Simple and used beats complete and ignored.
A single sheet per article, kept with the pattern and updated by hand when a figure changes, will still be accurate a year later. A detailed system that requires someone to leave the machine to update it will quietly fall behind, and the pattern on the table will then be the real specification.
Reviewing After a Problem
Seam problems implicate the allowance.
Where a run produces wavy seams, bulky corners or cracked edges, the allowance belongs in the list of things to check, alongside thickness, skiving and reinforcement.
Working With the Pattern Maker
The pattern maker and the factory should agree.
What the Pattern Maker Needs
- The leather article, thickness and temper
- Whether allowances will be skived or trimmed
- The closing method for each seam
- The appearance standard for stitch distance
- Which components are reinforced
- The range of sizes the pattern must serve
What the Factory Should Report Back
Failures should flow back with detail.
Where a pattern proves difficult to close, the feedback should identify the component, the operation and the observed problem, so that the pattern can be corrected at the source rather than compensated for on the line.
When the Pattern Has to Change
Pattern change is a decision, not an adjustment.
Where the factory has been compensating for a difficult seam at the machine, the durable answer is a revised pattern with a corrected allowance, approved and distributed. Compensating on the line works until the operator changes, and then the problem returns without an explanation.
Keeping Patterns Current
Patterns should match the product being made.
Where a product has been revised for material or construction, the pattern should be updated and re-approved, because a pattern that no longer matches the technique in use will keep generating the same problem.
Common Mistakes With Seam Allowances
| Mistake | Consequence | Prevention |
|---|---|---|
| Copying allowances from fabric patterns | Bulky seams and poor turning | Set allowances for leather thickness |
| One allowance for the whole bag | Some seams bulky, others starved | Decide allowance per component |
| Scaling allowance with bag size | Bulk in small sizes, tightness in large | Keep allowance tied to thickness |
| Trimming without recording the final width | Stitch distance drifts | Record trimmed width on the pattern |
| Reinforcement bonded into the fold | Stiff, hard-to-turn seams | Keep bonded area back from the fold |
| Ignoring tolerance stack-up | Finished dimensions out of specification | Budget tolerances across the stack |
| Adjusting at the machine without approval | Bulk no longer matches sample | Approve and record changes |
| Not checking internal seams on the sample | Hidden construction problems | Inspect inside as well as outside |
Frequently Asked Questions
What is a seam allowance in leather bag making?
It is the material left beyond the stitching line on each cut panel. In leather it also determines how much bulk sits in the closed seam, how a turned edge behaves, how large the finished bag is relative to the pattern and how much material the order consumes.
Why can a leather bag not use the same allowances as a fabric bag?
Because leather does not compress or slip like fabric. A leather seam keeps most of its volume, which builds up quickly in a joint with several layers, and leather cannot be eased or stretched to make two edges meet, so the allowance has to be right before sewing rather than adjusted during it.
Should one allowance be used for the whole bag?
No. The allowance should be set per component, because a skived main seam and an unskived pocket seam behave differently. A single figure for the whole product either produces bulky main seams or starved pockets.
How is the correct allowance decided?
By working from the finished seam: the intended stitch distance from the edge, the number of layers in the joint and the space they occupy. The figure is then proved by closing actual panels in the actual material rather than by calculation alone.
Is it better to skive a seam or to use a wider allowance?
Skiving produces a flatter and more controlled seam but adds an operation and carries a risk of over-thinning, while leaving the allowance wider keeps the volume in the joint. Most constructions use skiving where a visible seam must sit flat and rely on trimming elsewhere.
How does allowance affect the corner of a bag?
A full allowance at a corner creates a lump that either distorts the panel or has to be forced flat. Clipping or skiving the allowance at the corner and staggering the layer ends so they do not finish at the same point is what produces a corner that sits flat.
Does reinforcement change the allowance?
Yes. Reinforcement adds thickness to the layer stack, and a bonded area that reaches into the fold makes the allowance stiffer and harder to turn. Reinforcement edges should stop clear of the seam or be skived, and the combination should be tested together.
What is tolerance stack-up and why does it matter?
It is the accumulation of small variations — cutting accuracy, marking, thickness variation, skiving depth, hand turning and assembly order — across several seams. Each may be within its own tolerance while their sum pushes a finished dimension out of specification.
Should allowances be scaled when a bag is made in several sizes?
No. The leather thickness and layer stack stay the same while the panel dimensions change, so scaled allowances become bulky in small sizes and tight in large ones. Corners in particular need more attention on smaller versions of a shape.
How should allowances be recorded?
Per component, together with the material and thickness they were set for, the skive and trim operations, the approval and date, the reason for any revision and a reference to the sample that proved them. An allowance recorded without its conditions becomes misleading as soon as they change.
What should a buyer check about allowances?
That allowances are set per component rather than for the whole product, that they were proved on a sample in the actual leather, that stitch distance from the edge is consistent on the finished goods, and that any change to thickness or reinforcement was reflected in the pattern.
The Bottom Line
A seam allowance is a small number that settles a large number of questions.
It decides how thick each seam becomes, how the corners turn, how much leather the order consumes and whether the finished bag matches the dimensions it was designed to have. Setting it per component, proving it in the actual material, recording the conditions it was set for and controlling changes is the difference between a construction that repeats and one that has to be rescued at the machine.
For buyers, the practical questions are short. Ask whether allowances are set per component and how they were proved, what stitch distance from the edge the finished goods should show, how allowance interacts with the reinforcement and skiving used on this product, and whether any change has been made since the approved sample. A factory that can answer those questions is building to a specification; one that cannot is building to habit.
