
From Hide to Handbag: Inside a Leather Bag Factory — Cutting, Stitching, Hardware and Quality Control Explained
From Hide to Handbag: Inside a Leather Bag Factory — Cutting, Stitching, Hardware and Quality Control Explained
Every leather bag you have ever owned passed through a series of workstations before it reached your hands: a pattern maker’s table, a cutting bench, a sewing machine, a hardware press, and an inspector’s lamp. The journey from a raw animal hide to a finished handbag takes days, dozens of skilled hands, and hundreds of decisions — most of them invisible to the customer, and almost all of them reflected in how the bag feels, holds its shape, and survives its first years of life.
Most brands never see this process. They send a design and a price target to a factory, and months later a finished product arrives. The gap between those two moments is where quality is either built or lost, and understanding what happens inside is the single most useful knowledge a brand can bring to a manufacturing partnership.
This guide takes you through our factory floor, step by step, from the moment a hide arrives at the loading dock to the moment an inspector signs off on a finished bag. It explains what happens at each workstation, why it matters, what can go wrong, and how to evaluate a factory by the process it runs — not the promises it makes.
- The Bag Factory in One Paragraph: A Process Overview
- Step 1 — Design and Pattern Making
- Step 2 — Material Selection and Leather Inspection
- Step 3 — Cutting: The Art of Maximizing Every Hide
- Step 4 — Skiving, Edge Preparation and Folding
- Step 5 — Stitching: Where Bags Are Won or Lost
- Step 6 — Hardware: Buckles, Zippers and Rivets
- Step 7 — Assembly and Shaping
- Step 8 — Quality Control: The Gate That Protects Your Brand
- The Complete Process at a Glance: A Factory Flow Table
- The People and Machines Behind Each Step
- Lead Times, Sampling and the Path to Bulk Production
- What Can Go Wrong — and How a Good Factory Prevents It
- How to Evaluate a Bag Factory Before You Commit
- The Hidden Costs of Cutting Corners in Bag Manufacturing
- Frequently Asked Questions
- Final Word from the Factory
The Bag Factory in One Paragraph: A Process Overview
A leather bag factory is a pipeline with eight essential stages. A design arrives and is converted into precise patterns. Leather is selected, inspected, and prepared. Panels are cut from hides with maximum yield and minimum waste. Edges are skived and prepared. Panels are stitched into components. Hardware is attached. Components are assembled into a finished bag, shaped, and finished. And finally, every bag passes quality control before it is packed and shipped.
Each stage has its own tools, its own skills, and its own failure modes. A factory’s quality is not any single stage — it is the discipline of every stage, connected by inspection points that catch problems before they travel downstream. The best way to understand a factory is to walk it in order, which is exactly what this guide does.
Step 1 — Design and Pattern Making
Every bag begins not with leather but with paper. The design arrives as a sketch, a sample of a competitor’s product, a 3D rendering, or increasingly a tech pack — the document that translates a design into manufacturing language.
From design to tech pack. A professional tech pack specifies every detail the factory needs: dimensions, materials, hardware, thread colors, stitching patterns, pocket placements, zipper lengths, and tolerances. It is the contract between the brand’s imagination and the factory’s reality, and its completeness determines how many rounds of sampling the project will need. Brands that arrive with a vague sketch and a “make it look nice” instruction get what they pay for; brands that arrive with a precise tech pack get a precise product.
Pattern making: where geometry meets leather. The pattern maker converts the tech pack into the two-dimensional shapes that will be cut from leather and sewn into a three-dimensional bag. This is a genuinely skilled trade. The pattern must account for the leather’s thickness — which affects how panels fold and how seams behave — for seam allowances, for the stretch of the material in different directions, and for the order in which panels will be assembled.
Why pattern quality decides the product. A pattern that is off by two millimeters produces a bag that looks subtly wrong: a handle that sits crooked, a pocket that strains its stitching, a flap that does not close flush. Pattern errors are invisible in renderings and fatal in production. Good factories test every new pattern with a paper mock-up first, then a leather sample, before committing to bulk.
Step 2 — Material Selection and Leather Inspection
Before cutting can begin, the leather itself must be approved. This stage is the gate that protects everything downstream.
Incoming inspection. Every delivery of hides is inspected against the specification: species, tannage, thickness, color, and finish. We measure thickness with a leather gauge at multiple points across each hide, because a hide varies from neck to belly. We check for surface defects — scars, holes, weak spots, color inconsistency — and we reject lots that do not meet the agreed standard. A factory that skips this step is gambling with your product.
Grading and allocation. Hides within a lot are graded by quality. The best areas — clean, consistent, and correctly colored — are allocated to the bag’s most visible panels: the front, the flap, the outside of the body. Lesser areas are allocated to linings, gussets, and internal pockets. This allocation is a quiet art: a skilled cutter knows how to make a modest hide produce an excellent bag, and how a careless one can waste a premium hide on panels nobody sees.
Color and finish matching. If a bag has multiple leather components — body, straps, trim — they must match in color and tone. Hides dyed in the same batch usually match well; hides from different batches may not. Factories hold matched lots together and label them, so that a production run does not assemble a bag with a visibly different body and strap.
Step 3 — Cutting: The Art of Maximizing Every Hide
Cutting is where the leather’s natural variation meets the pattern’s precision, and where the economics of a bag are largely decided.
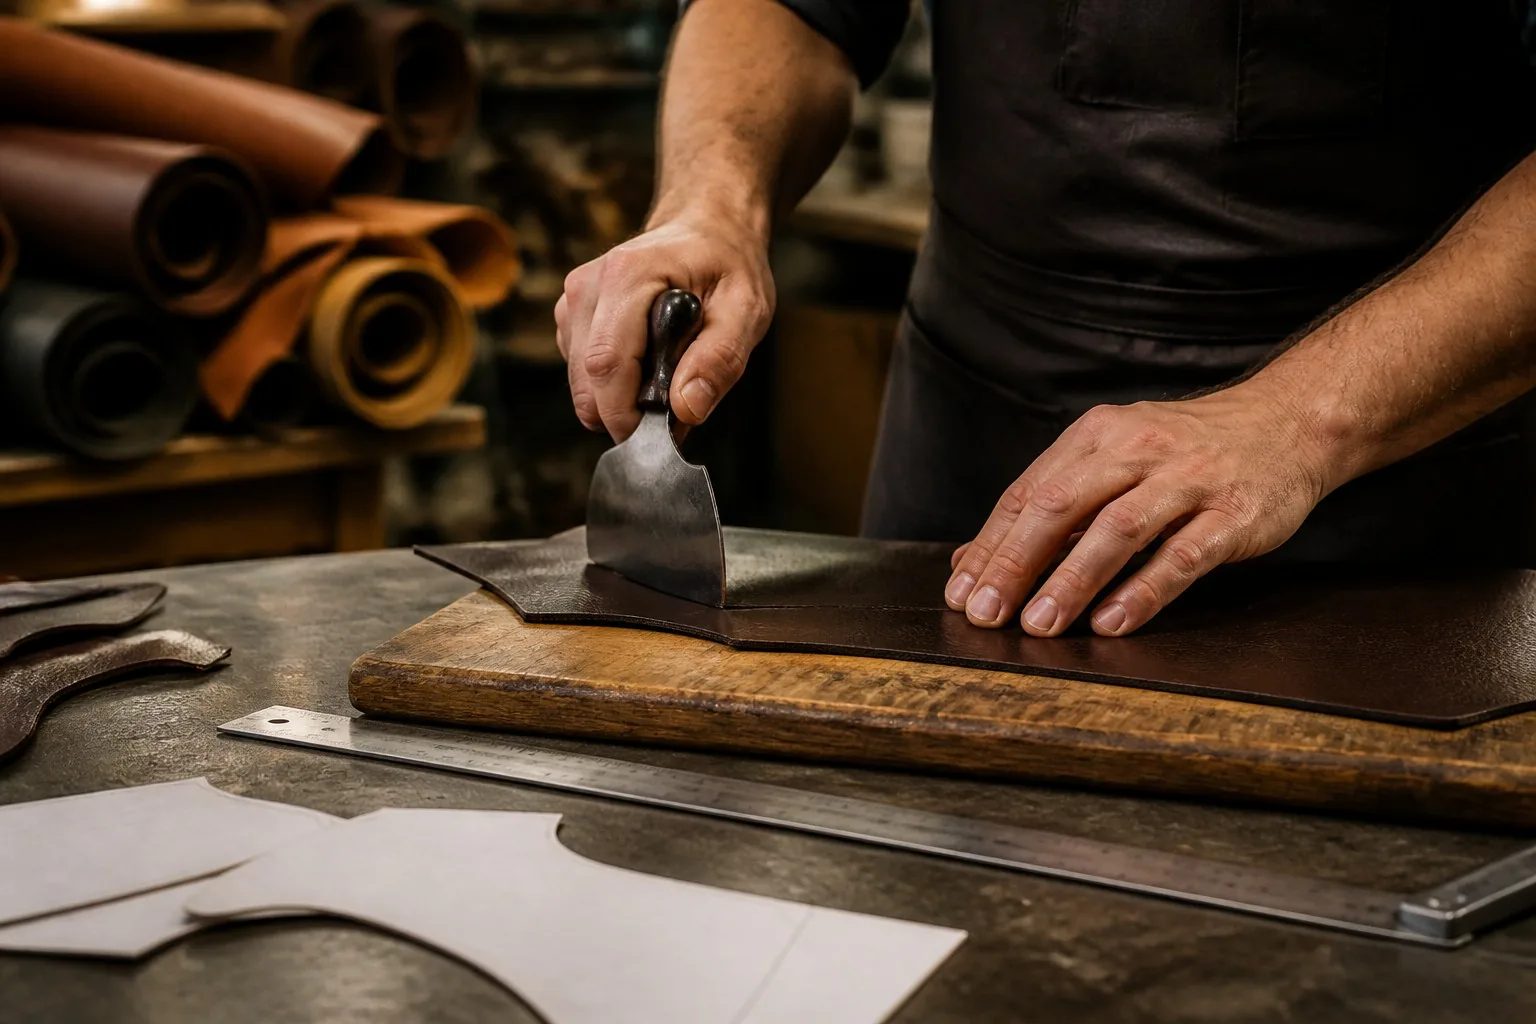
Hand cutting vs. die cutting vs. CNC. There are three main cutting methods in the industry. Hand cutting uses a sharp knife (often the traditional half-moon or round knife) guided along the pattern — the most flexible method, ideal for natural leather, small runs, and working around defects. Die cutting uses a sharpened steel die pressed through the leather — fast and consistent, ideal for large runs and synthetic materials, but a die costs money and works best on uniform material. CNC cutting uses a computer-controlled blade — precise, flexible, and increasingly popular for complex patterns, though it has a higher setup cost and still needs a skilled operator to manage natural variation.
Yield: the quiet driver of cost. Leather is sold by area, and the usable area of a hide is never 100 percent. Natural flaws, irregular edges, and color variations force the cutter to work around them. A skilled cutter can achieve 80 to 90 percent yield on a good hide; a careless one wastes the same hide at 70 percent or less. Yield differences of ten percent translate directly into the unit cost of every bag — which is why cutting skill is one of the most valuable assets a factory has.
The grain direction matters. Leather has a direction: it stretches more across the spine than along it, and panels must be oriented correctly for the bag to hold its shape and for straps to resist stretching under load. Cutting a strap along the wrong direction is a recipe for a strap that stretches permanently within months. The pattern maker and the cutter together enforce grain direction on every panel.
Quality rules of cutting. Edges must be clean — a torn or ragged edge cannot be fixed by stitching. Panels must be cut at the right thickness after skiving allowances are accounted for. And the cutter must document which hide and which area each panel came from, so that color matching can be traced back if a problem appears later in production.
Step 4 — Skiving, Edge Preparation and Folding
Cut panels are not yet ready to sew. Most need their edges thinned and prepared — a step called skiving — and many need to be folded or glued before stitching.
What skiving does. Skiving thins the leather at specific areas, usually the edges and fold lines. Its purposes are functional and aesthetic: thinned edges fold without bulky lumps, layered panels assemble smoothly, and the folded edge of a wallet or a bag opening lies flat instead of standing proud. Skiving is done by hand with a knife or with a skiving machine, and it is one of the most skill-dependent operations in the factory. Skive too little and the assembly is bulky; skive too much and the leather weakens and tears at the fold.
Edge preparation. Before assembly, edges may be beveled, and the inside faces of panels that will be glued are roughened or scored so that the adhesive bonds properly. Folding — creasing the leather along a line and pressing it — gives the bag crisp, professional edges that would otherwise bulge. The difference between a bag with beautifully crisp edges and one with soft, lumpy edges is entirely this stage.
The hidden influence of skiving on durability. Folds are stress concentrators: they flex constantly as the bag opens, closes, and carries weight. A correctly skived fold flexes for years; a poorly skived one cracks within months. When customers complain that a bag “cracked at the corner,” the root cause is often a skiving decision made years earlier in the factory.
Step 5 — Stitching: Where Bags Are Won or Lost
Stitching is the heart of bag manufacturing — the stage where panels become a bag, and where the difference between a quality product and a defective one is most visible to the naked eye.
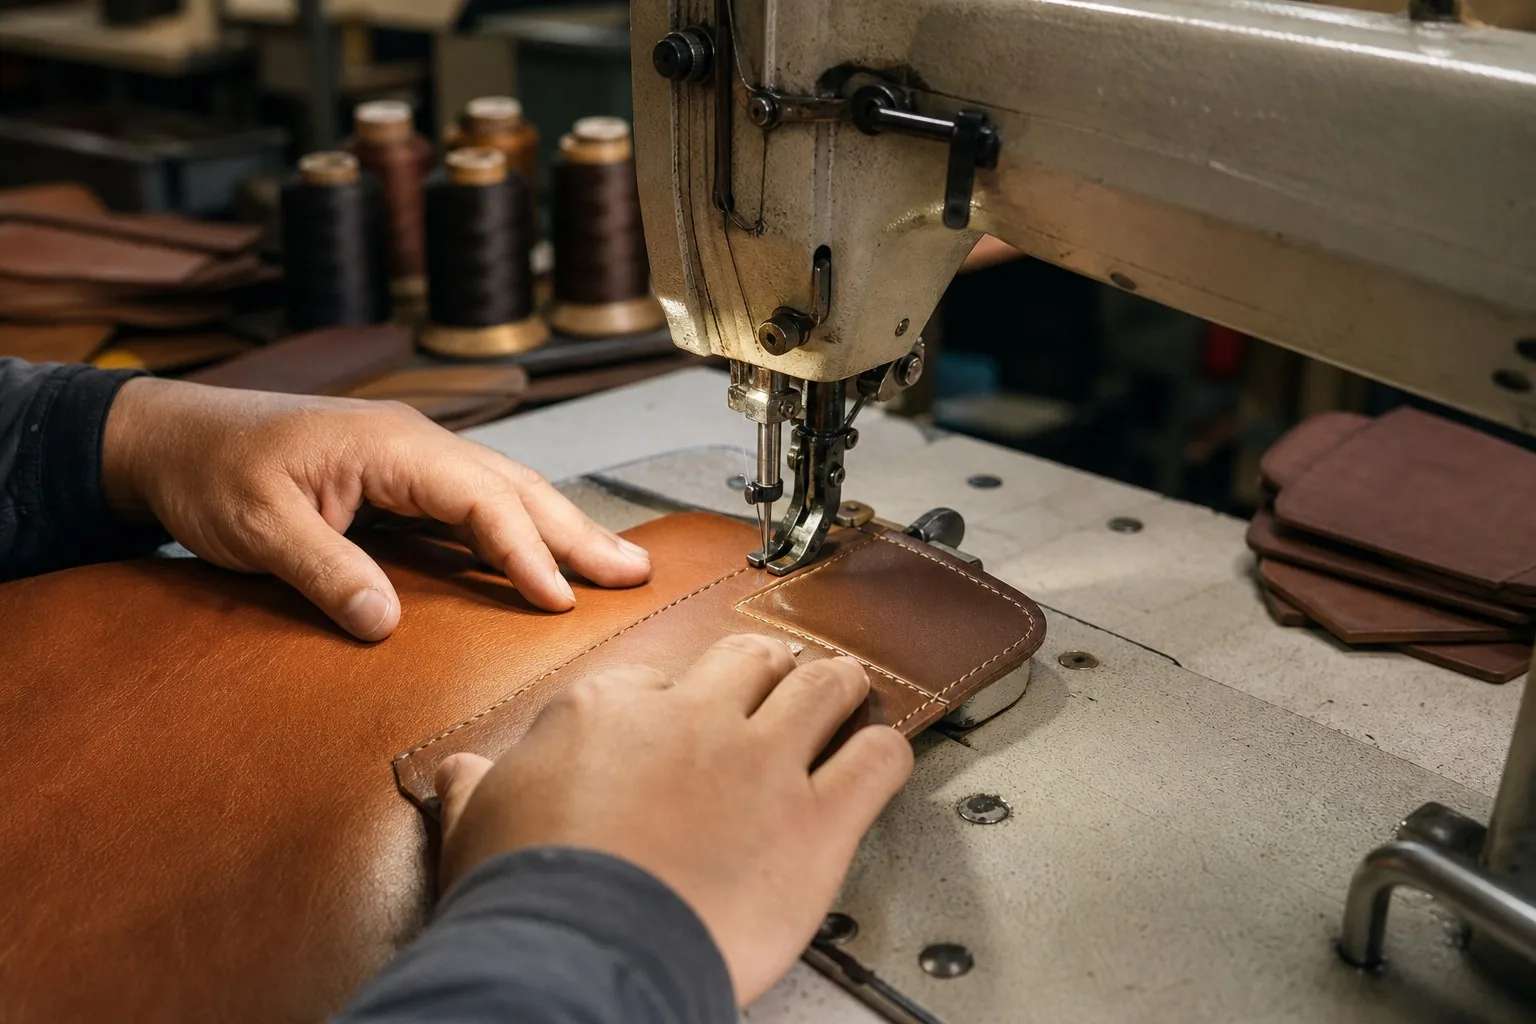
Thread and needles matter more than most people think. Leather bags are stitched with bonded nylon or polyester thread, sized to the leather thickness and the stress the seam will carry. The needle must be sized to the thread, and the machine tension must be set so that the thread locks correctly inside the material. A mismatch produces skipped stitches, loose seams, or — worst of all — seams that look fine on the outside but are barely holding on the inside.
Stitch types and where they are used. The most common bag stitch is the lockstitch, used for most panel seams, followed by the chainstitch for some linings and the saddle stitch — the classic hand-stitched diagonal pattern — for premium, heritage-style products. Machine stitching is fast and consistent; saddle stitching is slow, labor-intensive, and prized for its durability and beauty. Both have their place, and a quality factory knows which to use where.
Stitch quality: what to look for. Consistent stitch length, straight lines that follow the seam, no skipped stitches, no puckering of the leather, and secure thread locking at the ends of seams. On premium products, stitch density — the number of stitches per inch — is specified and maintained. We check stitch quality at every workstation, not just at final inspection, because a seam problem found after assembly costs ten times more to fix than one found immediately.
Machine vs. hand stitching. The debate is less about which is “better” than about which fits the product. Machine stitching is stronger per unit of labor and perfectly consistent; hand saddle stitching is unmatched for beauty, flexibility, and repairability. Many premium bags combine both — machine for structural seams, hand for visible, decorative seams. The pattern of stitching is part of the design, and it should be specified as deliberately as the leather.
Step 6 — Hardware: Buckles, Zippers and Rivets
Hardware is the bag’s skeleton — the metal that carries stress, opens and closes, and often fails first if chosen or installed poorly.
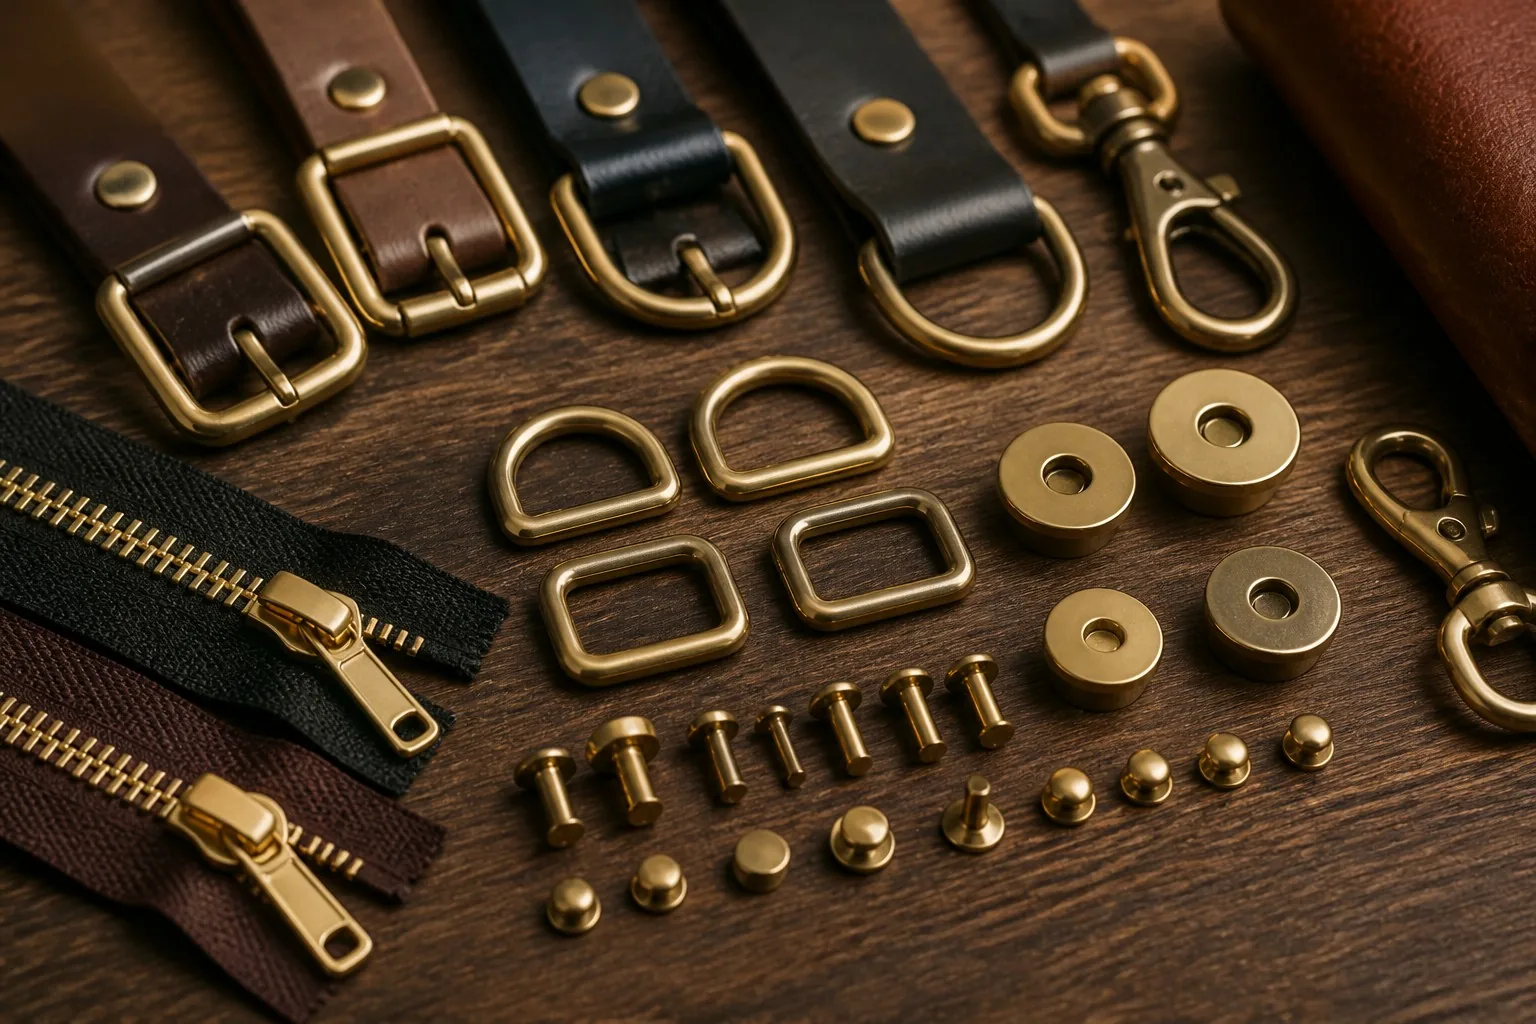
Choosing the right hardware. Buckles, zippers, magnetic snaps, rivets, D-rings, and feet must be selected for function, finish, and durability. Zinc alloy and brass are the most common materials for cast hardware; steel is used where strength matters most. Finishes — antique brass, nickel, matte black, gold — are electroplated, and the plating quality determines how the hardware ages. Cheap plating peels within months; quality plating lasts for years.
The zipper: the most failure-prone component. Zippers are the part of a bag most likely to fail, and the choice of zipper supplier and size matters enormously. A quality zipper has smooth, consistent teeth, a durable slider, and pulls that are attached securely. We specify zipper quality by supplier and by price point, and we test every zipper’s action during assembly — a bag with a sticky zipper is a returned product waiting to happen.
Installation: pressing, riveting and stitching. Hardware is installed with specialized presses and riveting machines that apply exactly the right pressure. Over-press a rivet and you crush the leather and weaken the panel; under-press it and the hardware works loose. Magnets and snaps must align perfectly across the bag opening — a misaligned snap is a daily annoyance that reads as “cheap” to the customer. Every hardware operation has a specified pressure, and every press operator is checked against the standard.
Stress points need reinforcements. Where hardware meets leather — strap attachments, D-ring anchors, handle bases — the leather is typically reinforced with extra layers, stronger stitching, or both. A bag’s lifespan is often decided at exactly these points, and reinforcement is not an extra: it is a specification.
Step 7 — Assembly and Shaping
With components stitched and hardware installed, the bag comes together in final assembly.
The assembly sequence. Linings are attached, pockets are positioned, gussets are joined to bodies, straps are connected, and the bag is turned, shaped, and finished. The sequence is designed so that each seam is accessible when it is sewn, and so that stress points are built up in the correct order. A factory with a disciplined assembly line produces consistent bags; a factory that improvises the sequence produces variations.
Shaping and finishing. After assembly, the bag is shaped — stuffed, steamed, or pressed so that it holds its intended silhouette — and finished: edges are burnished or painted, surface imperfections are treated, and the bag is cleaned of production marks. This stage is where a bag goes from “assembled” to “finished,” and its quality determines the first impression in the customer’s hands.
The final hardware check. Before the bag leaves assembly, every fastener is checked again: zippers run smoothly, snaps align, buckles function, rivets are secure. Small adjustments are made on the spot, because a bag that leaves assembly with a loose fastener will not be caught by any later inspection — it will go straight to the customer.
Step 8 — Quality Control: The Gate That Protects Your Brand
Quality control is not a single checkpoint — it is a system of inspections running through every stage, ending in a final gate before packing.
In-line inspection. Each workstation checks its own work: the cutter checks panels, the stitcher checks seams, the hardware operator checks fasteners. Problems are caught at the source, where they cost seconds to fix, rather than at final inspection, where they cost the whole bag.
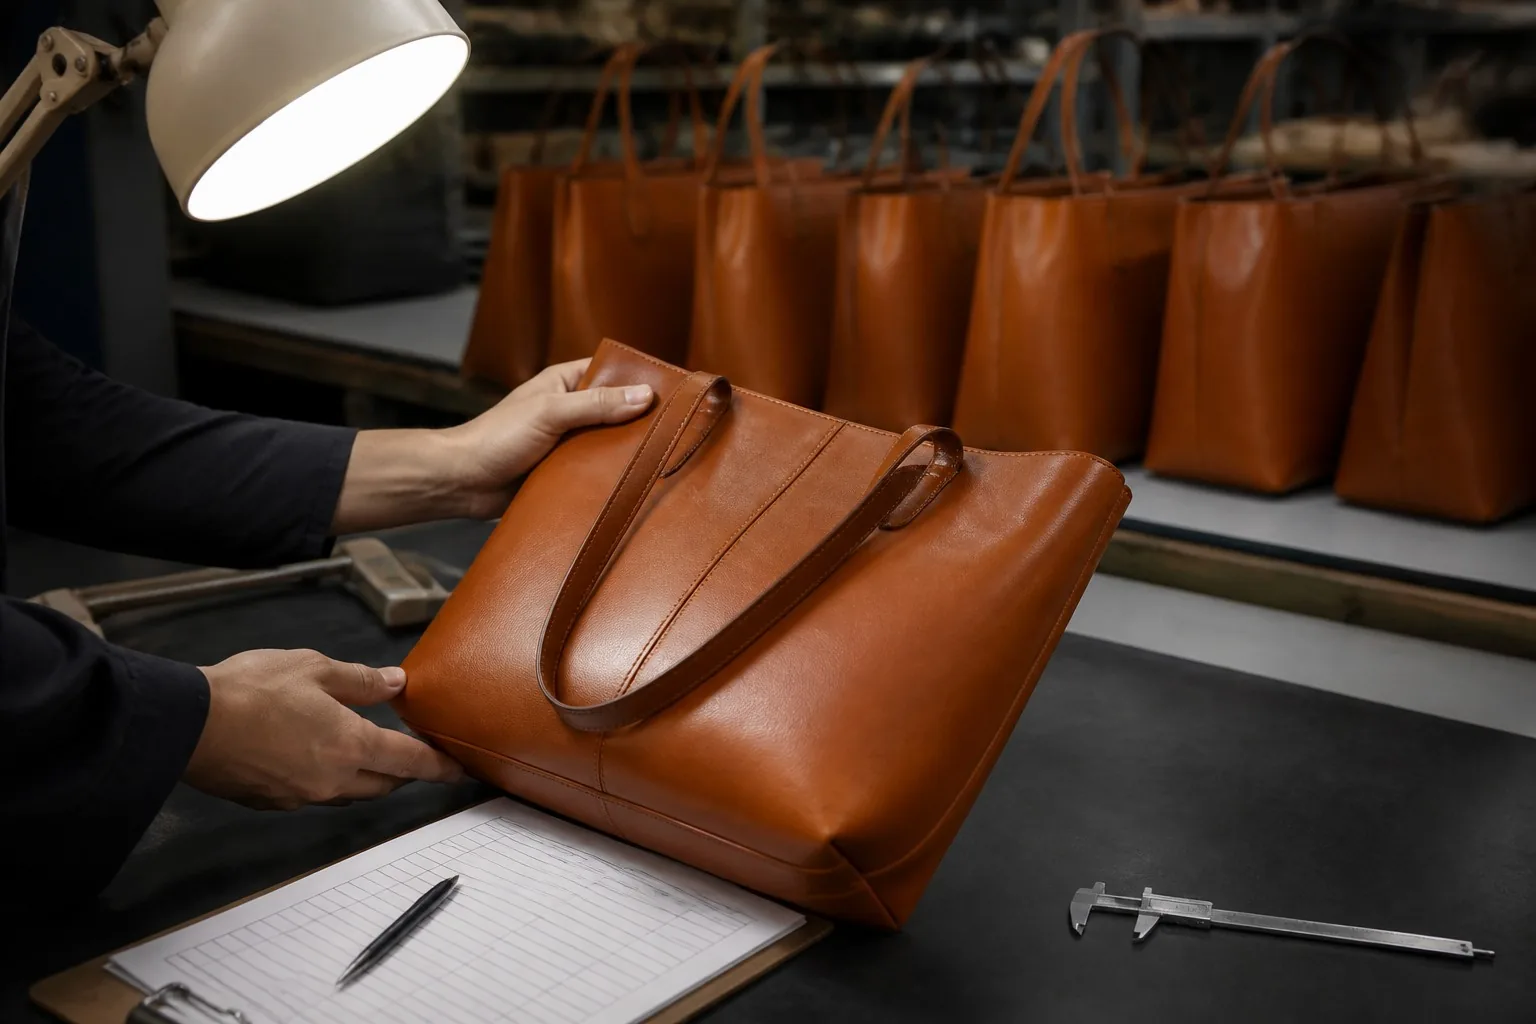
Final inspection. Every finished bag passes a structured final inspection against the specification: dimensions, stitching, hardware function, color consistency, edge finish, alignment, and overall appearance. Bags are checked inside and out, and defects are classified as critical, major, or minor. Critical defects — broken hardware, torn panels, misaligned structures — are rejected outright. Major defects are rejected or reworked. Minor defects are evaluated against the quality agreement with the client.
AQL sampling: when not every bag is checked. For large production runs, factories commonly use AQL (Acceptable Quality Limit) sampling — statistically inspecting a sample from the batch to judge the whole. AQL levels are written into the quality agreement between brand and factory. Understanding AQL is essential for brands: it defines what “acceptable quality” means in numbers, and it protects both sides from ambiguity at the moment of delivery.
The inspection record. Every inspected bag — passed, reworked, or rejected — is documented. This record is the factory’s memory and the brand’s evidence: it proves what was checked, what was found, and what was fixed. When a customer issue appears months later, the inspection record is the first place we look to understand what happened.
The Complete Process at a Glance: A Factory Flow Table
| Stage | What happens | Key tools | Typical failure mode |
|---|---|---|---|
| 1. Design & pattern | Tech pack → patterns → mock-up | CAD, paper, cutting mats | Pattern errors compound downstream |
| 2. Material inspection | Hide grading, thickness, color check | Leather gauge, light table | Substandard lots pass into production |
| 3. Cutting | Panels cut with max yield | Knife, die press, CNC | Torn edges, wrong grain direction, poor yield |
| 4. Skiving & prep | Edges thinned, folds prepared | Skiving machine, knives | Over-thinning weakens folds |
| 5. Stitching | Panels sewn into components | Sewing machines, hand awls | Skipped stitches, puckering, wrong tension |
| 6. Hardware | Zippers, buckles, rivets installed | Presses, riveters | Misalignment, loose fasteners, cheap plating |
| 7. Assembly | Components joined, bag shaped | Lasts, steamers, presses | Inconsistent sequence, weak stress points |
| 8. Quality control | In-line + final inspection, AQL | Checklists, lamps, gauges | Defects shipped past the gate |
The People and Machines Behind Each Step
A leather bag factory is a collection of trades, and the quality of each trade is the quality of the people who practice it. The pattern maker must think in three dimensions. The cutter must read a hide like a map, seeing every flaw and every opportunity. The skiver must judge thickness by touch. The stitcher must feel machine tension in the seam. The inspector must see what others have stopped seeing.
Machines amplify these skills; they do not replace them. A CNC cutter still needs an operator who understands natural leather. A computerized sewing machine still needs a stitcher who knows when a seam is wrong. The factories that produce consistently excellent bags are the ones that invest in skilled people, train them continuously, and pay them enough to stay. When you evaluate a factory, look at the people as carefully as the equipment — the equipment is easy to buy; the skills are not.
The role of apprenticeship. The best leather workers in any factory were trained over years, not weeks. Skiving, saddle stitching, and edge burnishing are crafts that take months to learn and years to master. Factories that rely entirely on quick-trained operators produce workmanlike bags; factories with a core of experienced craftspeople produce exceptional ones. Ask a factory about its senior staff and how they are trained — the answer tells you a great deal about the product.
Lead Times, Sampling and the Path to Bulk Production
Understanding the factory calendar is as important as understanding the factory floor. Every stage of this process takes time, and a realistic timeline is the foundation of a healthy brand-factory relationship.
The sampling phase. Before bulk production, the factory produces samples: usually a development sample to prove the design, then a fit/pre-production sample to prove the manufacturing details, and finally a sales sample for the brand’s own use. Each round takes roughly one to three weeks, depending on material availability and the complexity of the design. Brands that budget for two to three sample rounds — not one — are the ones that avoid production surprises.
Bulk production lead times. After sample approval, bulk production for a typical leather bag order runs about four to eight weeks, driven by material lead time (leather and hardware may need ordering), the number of styles, and the factory’s production load. Rush orders are possible but expensive — they compress stages that should not be compressed, and quality is the first thing to suffer.
The lead time reality check.
| Phase | Typical duration |
|---|---|
| Material sourcing & confirmation | 1–2 weeks |
| Development sample | 1–2 weeks |
| Fit sample & approval | 1–2 weeks |
| Bulk production | 4–8 weeks |
| Quality control & packing | 3–7 days |
| Total (typical) | 8–14 weeks |
What delays production. The most common causes are material issues — leather or hardware not matching the specification, delays in supply, or color mismatches between batches — followed by design changes made after sampling, and incomplete or late approvals from the brand side. The best way to keep a timeline is to freeze the design at sample approval and keep material decisions early. Every week saved in planning is a week not spent waiting in production.
What Can Go Wrong — and How a Good Factory Prevents It
Every stage of this process has a failure mode, and the difference between a good factory and a bad one is how many it prevents. Here are the most common failures we see in the industry, and the discipline that prevents them.
Pattern drift. Patterns that are modified casually during production — “just trim this edge,” “make the pocket a little bigger” — compound into inconsistent products. Prevention: a formal change-control process where every pattern modification is documented, approved, and re-sampled.
Cutting yield games. A factory chasing a lower price may cut corners on yield discipline, producing panels that are slightly off-grain or poorly matched. Prevention: agreed yield standards and inspection of cut panels before they reach the sewing line.
Stitch tension drift. Machine tension drifts as machines wear and threads change; seams slowly degrade without anyone noticing. Prevention: routine stitch checks, calibrated machines, and maintenance schedules.
Hardware substitution. Between sampling and bulk, hardware is sometimes quietly swapped for cheaper equivalents to protect margins. The bag then fails faster than the sample promised. Prevention: hardware specifications written into the tech pack, and incoming hardware inspection against the approved sample.
Inspection fatigue. Final inspectors checking hundreds of identical bags can stop seeing defects. Prevention: rotation, standardized checklists, AQL sampling, and random re-inspection by a second layer of QC.
What a good factory does differently. It documents everything, checks at every stage, keeps approved samples as the reference for production, and communicates problems honestly instead of hiding them. It treats quality as a system, not a checkpoint — and that system is what protects the brand’s reputation on the customer’s side of the transaction.
How to Evaluate a Bag Factory Before You Commit
Choosing a factory is one of the most consequential decisions a bag brand makes. Here is the evaluation framework we recommend, built from the process in this guide.
1. Walk the floor in order. Ask to see each stage: pattern room, material room, cutting, skiving, stitching, hardware, assembly, QC. The order matters — a factory that cannot show you the full sequence cleanly is a factory that does not run the full sequence cleanly.
2. Watch the inspectors, not just the machines. Are there inspection points between stages? Are there checklists? Do operators stop and check their own work? The presence of in-line QC is the single strongest signal of a quality factory.
3. Ask about the approved sample. Every production run should be built against an approved sample and a written specification. Ask to see the sample room and how samples are archived and referenced during production.
4. Test the communication early. Send a precise tech pack and see what questions come back. A factory that asks sharp, specific questions about materials, tolerances, and stress points understands the process; a factory that says “no problem, we can do everything” has not read your spec.
5. Check the failure stories. Every factory has made mistakes. Ask what went wrong on their most challenging recent project, what they did about it, and what they changed afterward. Honest, specific answers about failures are worth more than flawless marketing.
6. Verify with a small order first. Nothing evaluates a factory like a real order. Start with a small run, inspect the quality rigorously, and scale based on evidence — not promises.
The Hidden Costs of Cutting Corners in Bag Manufacturing
Every stage of the process we have walked through has a shortcut, and every shortcut has a price — the question is who pays it, and when.
The shortcut arithmetic. Skipping material inspection saves hours but lets substandard hides into production. Cutting without yield discipline saves time but wastes leather and produces off-grain panels. Reducing skiving saves minutes but creates folds that crack. Substituting cheaper hardware saves cents per bag but guarantees premature failures at stress points. Skipping in-line inspection saves labor but ships defects to customers. Each shortcut looks economical at its own workstation; together, they transform a quality product into a liability.
Who pays, and when. The factory pays first, in rework and rejected goods. The brand pays second, in returns, refunds, and chargebacks. The customer pays last — in a bag that fails months early — and then the brand pays again, in the one-star reviews and lost word-of-mouth that follow. The total bill for cutting corners is always larger than the savings, but it arrives later, spread across the supply chain, which is why the temptation persists.
The honest factory’s view. Quality costs something real — better materials, skilled labor, inspection time, and disciplined processes. But quality also earns: fewer returns, longer customer relationships, premium pricing power, and a brand reputation that compounds. In our experience, the brands that succeed are the ones that treat quality as an investment in the customer relationship, not a cost to be minimized. The math is simple: a customer who keeps a bag for five years and recommends it to friends is worth many times more than the pennies saved by a cheaper zipper. The process is where that value is made — or where it is quietly destroyed.
Frequently Asked Questions
How long does it take to manufacture a leather bag?
Typically 8–14 weeks from material sourcing to finished goods: 1–3 weeks for sampling rounds, 4–8 weeks for bulk production, and a few days for final QC and packing. Rush production is possible but compresses stages and raises quality risk.
What is the most important quality factor in bag manufacturing?
Consistent in-line inspection. The factories that produce excellent bags check quality at every stage — cutting, skiving, stitching, hardware, assembly — not only at final inspection. Catching a defect at the source costs seconds; catching it at final QC costs the whole bag.
What is AQL, and why does it matter?
AQL (Acceptable Quality Limit) is a statistical sampling method used to judge a production batch by inspecting a sample. It is written into the quality agreement and defines how many defects are acceptable. Understanding your AQL level prevents ambiguity about quality standards at delivery.
Which part of a bag fails most often?
Zippers fail most frequently, followed by stress points — strap attachments, handle bases, and D-ring anchors. Both are addressed by choosing quality components and reinforcing the leather at stress points. Ask your factory about both, because they decide the bag’s real-world lifespan.
Hand stitching or machine stitching — which is better?
Neither is universally better. Machine stitching is faster, consistent, and strong; hand saddle stitching is slower, more beautiful, and more repairable. Many premium bags combine both: machine for structural seams, hand for visible seams. Choose based on the product and its price point.
How many samples should I expect before bulk production?
Plan for two to three rounds: a development sample to prove the design, a fit or pre-production sample to prove the details, and a sales sample for your own use. Brands that budget for multiple rounds avoid the production surprises that come from rushing to bulk.
Why do two factories quote such different prices for the same bag?
Differences come from material grade, hardware quality, labor skill, yield discipline, and inspection rigor — not just margin. The cheapest quote is usually cutting quality somewhere in the process, often in places you will only discover after delivery. Evaluate the process, not just the price.
How can I check a factory’s quality before ordering?
Ask to walk the floor in the order of the process, watch the in-line inspection points, review their approved-sample system, send a precise tech pack and evaluate their questions, and start with a small order that you inspect rigorously. Evidence from a real order beats any promise.
Final Word from the Factory
A leather bag is the product of eight stages, dozens of hands, and hundreds of decisions — and every one of them leaves a mark on the final product. The pattern that is a millimeter off, the hide that was not graded, the stitch that was tensioned wrong, the zipper that was quietly substituted: each is invisible in a product photo and unmistakable in a customer’s hands.
The good news is that the process is transparent to anyone who knows what to look for. Walk the floor in order. Watch the inspectors. Ask about the approved sample and the last failure. The answers will tell you more about a factory than its portfolio, its certifications, or its promises.
At our factory, we are proud of the process because the process is the product. The craftspeople who cut, skive, stitch, and inspect each bag know that their work will be judged in the customer’s hands, years after it leaves our dock. That is the standard we hold, and it is the standard we recommend every brand demand — because a bag is not just a design and a material. It is a design, a material, and a process, and the process is where quality is truly made.
