
Skiving and Splitting Leather: Thickness Control for Bags
Skiving and Splitting Leather: Thickness Control for Bags
Thickness is one of the few leather properties that a bag factory can still change after the material arrives, and the two operations that change it — splitting and skiving — decide how a bag folds, how its edges finish, how much it weighs and whether it holds its shape after a year of use.
As a bag manufacturer, we treat thickness as a process variable rather than a fixed attribute of the hide. This guide explains what each operation does, where in a bag each one is applied, how thickness is measured and specified, what the common faults look like, and how buyers should read a thickness specification before they approve a sample.
A thickness figure on a specification sheet is only half the information. What matters in production is where the leather is thick, where it has been reduced, and how consistently the machine holds that reduction across a whole order.
- Why Thickness Control Decides Bag Quality
- The Two Operations: Splitting and Skiving
- Leather Thickness and Where It Matters in a Bag
- Splitting: Making a Hide Even
- Skiving: Thinning Where the Bag Folds
- Measuring Thickness in Production
- Thickness Specification and Tolerances
- Edge Thickness, Folds and Seams
- Skiving Faults and Their Causes
- Machine Setup, Blades and Maintenance
- Thickness and Bag Construction
- Thickness by Bag Type
- Working With Tannery Thickness Options
- Sampling, Bulk and Change Control
- Common Mistakes and How to Avoid Them
- Frequently Asked Questions
- The Bottom Line
Why Thickness Control Decides Bag Quality
Thickness influences almost every operation that follows it.
What Thickness Actually Controls
Thickness drives stiffness, weight and volume.
A thicker panel resists bending and holds a shape, while a thinner panel drapes and folds. Thickness also sets the total weight of the bag, the size of the seams, the depth of the edge finish and the force needed to close a snap or push a strap through a loop.
Why One Hide Is Never One Thickness
Hides vary across their own area.
Thickness changes from the spine to the belly, and along the length of a hide, before any factory operation takes place. A tannery can even out some of that variation, but a hide remains a variable material, which is why splitting and skiving exist at all.
Why the Factory Has to Intervene
Some places in a bag simply cannot tolerate the full substance.
Fold lines, seam overlaps, edges that fold back on themselves, zipper tapes and hardware attachment points all fail if the leather there is too thick. Reducing thickness locally is what makes a clean fold possible in the first place.
The Two Operations: Splitting and Skiving
They look similar and do different jobs.
Splitting: Uniform Reduction
Splitting reduces the whole panel to a target thickness.
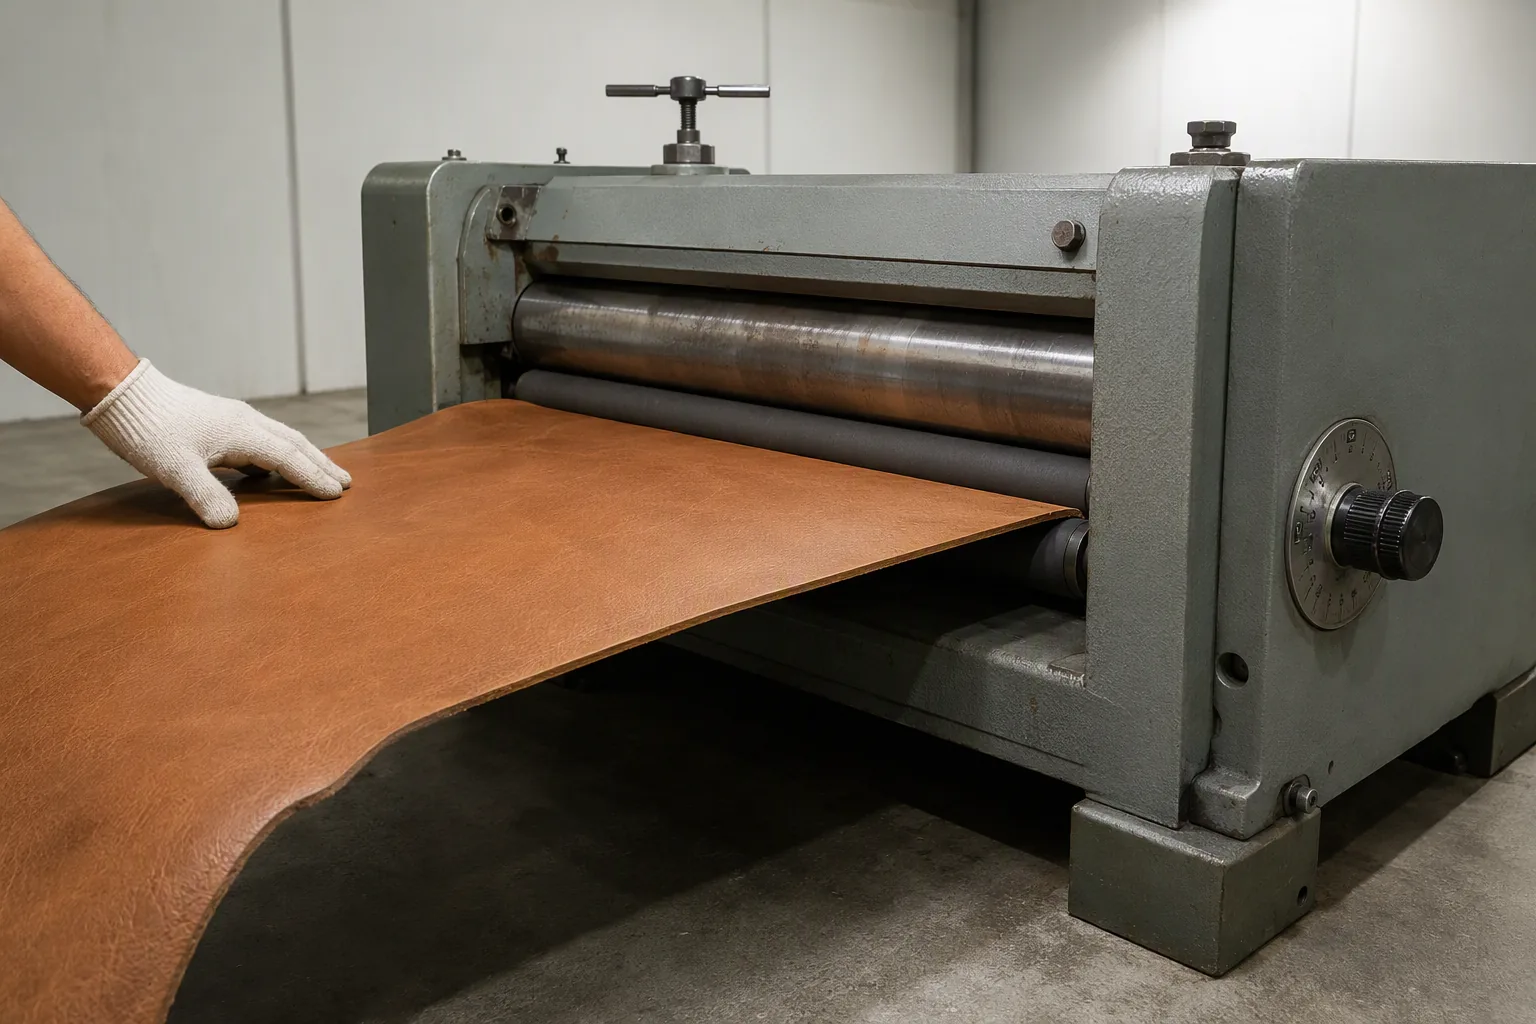
A band-knife splitting machine passes the leather between rollers and cuts away a layer from the flesh side, so the entire panel comes out close to one even gauge. It is the operation that turns a hide into a usable substance.
Skiving: Local Reduction
Skiving reduces thickness in specific areas.
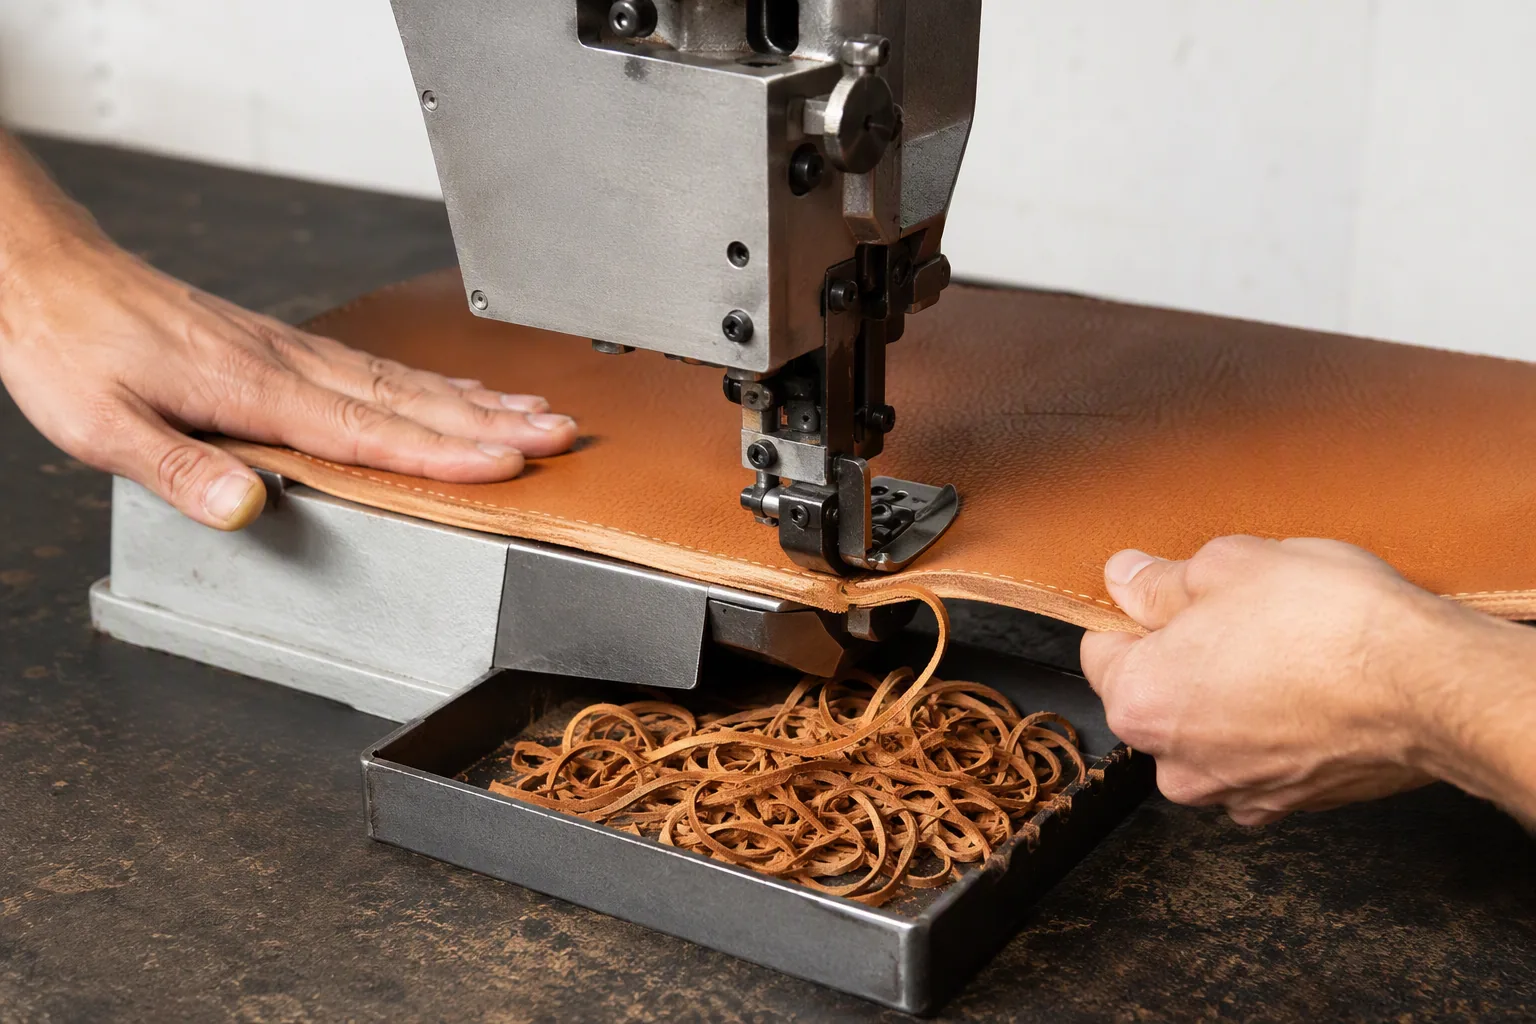
A skiving machine removes a wedge or a step of material along an edge, a seam allowance or a fold. The panel keeps most of its original thickness and only the working area is thinned, which is why skiving is always a local operation rather than a panel-wide one.
Where Each Operation Is Used
| Operation | What it changes | Typical use in a bag |
|---|---|---|
| Splitting | Whole panel reduced to a target gauge | Preparing hides and panels to a workable substance |
| Skiving | Edge or local area reduced, wedge or step | Folded edges, seam allowances, pocket tops, strap ends |
| Splitting then skiving | Panel evened first, then locally thinned | Most structured bags and all edge-painted work |
| Skiving only | Local reduction on already-even leather | Trims, small goods, light panels |
| Neither | Full substance retained | Base panels, handles and load-bearing parts |
Leather Thickness and Where It Matters in a Bag
A bag is a map of different thickness requirements.
Load-Bearing Panels
Structure begins with the parts that carry weight.
Bases, back panels, handle anchors and strap bodies carry the load, and they are usually the thickest parts of the bag. Reducing thickness there to save weight is the most common cause of a bag that sags or tears at the attachment points.
Folding Areas
Folds need less material than the panels they join.
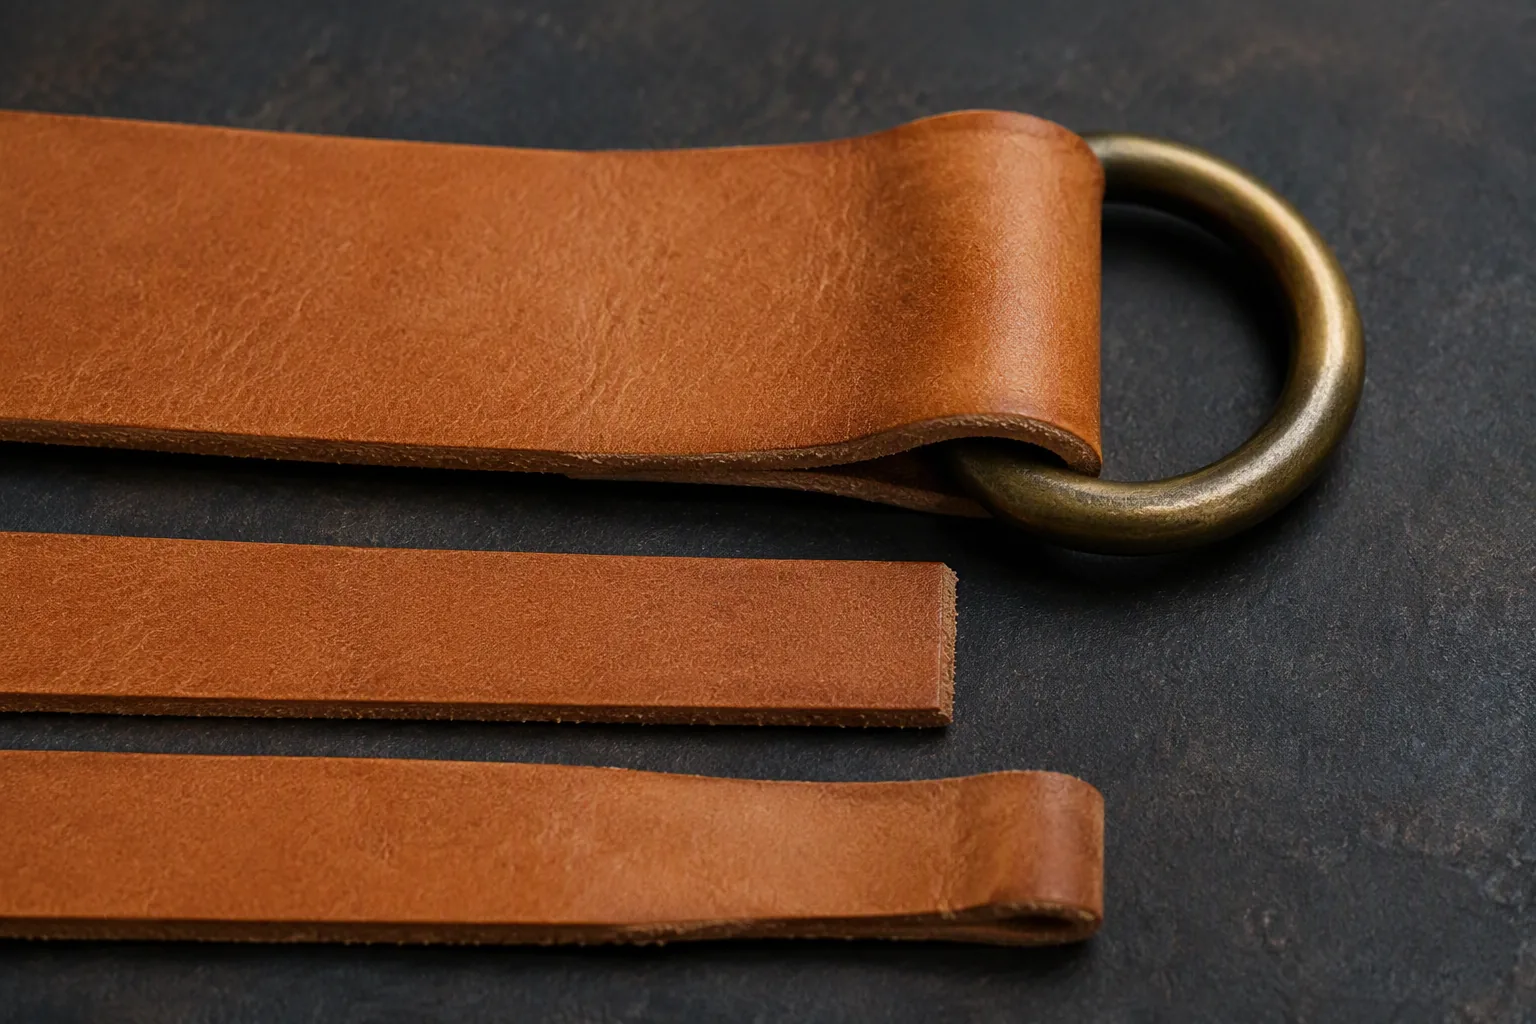
Anywhere leather folds back on itself, two layers of full substance will produce a bulky, distorted line that will not sit flat. Skiving the fold area thins the leather exactly where the bend happens, so the fold reads as a clean line rather than a lump.
Seam Overlaps
Seams multiply thickness.
Where two or three panels meet, the seam allowance stacks the material and the presser foot has to climb over the resulting step. Thinning the allowances locally, and planning which panel sits on top, keeps the seam flat and prevents skipped stitches.
Edge Finishing
Edges have their own thickness budget.
A folded or painted edge needs a thin, even edge to look clean, and the finished edge thickness is what the customer actually sees and touches. Cutting back thickness at the edge is what makes a premium edge finish possible at all.
Finishing and Hardware
Small parts demand tight control.
Zipper tapes, magnetic snaps, rivets and D-rings all sit against a known thickness, and a panel that arrives thicker than specified will push the hardware out of position or prevent the bag from closing cleanly.
Splitting: Making a Hide Even
Splitting is the first thickness operation most leather undergoes.
How a Splitting Machine Works
The machine cuts a continuous layer from the underside.
The leather is fed between a driven roller and a band knife, with the gap between them setting the thickness of the material that passes through. Everything above that gap stays as the usable panel; the layer cut away becomes a by-product of the operation.
Setting the Target Thickness
The setting is chosen for the product, not the hide.
A tote body might be split to a moderate substance while a wallet interior is split much thinner, and the setting is recorded in the specification so repeat orders match. Once set, the machine should be checked against a gauge rather than trusted.
Splitting Limits and Risks
Not every hide can be split indefinitely.
Every reduction brings the knife closer to the grain structure, and splitting too far weakens the material, exposes a looser fibre layer and creates a surface that finishes poorly. Splitting also amplifies any variation already present in the hide.
Skiving: Thinning Where the Bag Folds
Skiving is the operation most closely tied to how a bag feels in the hand.
How a Skiving Machine Works
A skiving machine removes a controlled wedge.
The leather edge runs against a feed roller and past a blade that cuts at a shallow angle, so material is removed in a taper or a step rather than across the whole panel. Depth and length of the cut are both adjustable, which is what allows a fold to taper smoothly into full substance.
Taper versus Step
Two profiles solve two different problems.
A taper thins gradually into the panel, which suits folds and strap ends where thickness should build up invisibly. A step removes a defined area at nearly constant depth, which suits seam allowances and pocket edges where a precise, repeatable reduction is needed.
Where Skiving Is Applied
Skiving is planned panel by panel.
- Fold lines on the top edge of a front panel
- Seam allowances on gussets and side panels
- Strap ends that fold around a ring
- Pocket tops and the mouth of a lining
- Handle attachments where a rivet must sit flush
- Zipper ends where the tape meets the panel
Skiving is a design decision, not a repair. If a fold line or a seam allowance has to be skived, that requirement belongs on the pattern, so the operation happens at the same point in every unit of the order.
Depth, Length and Blade Condition
Three settings decide whether the result is clean.
Depth controls how much material is removed, length controls how far the taper runs, and blade sharpness decides whether the leather is cut or torn. A worn blade produces a ragged, fibrous edge that takes up edge paint unevenly and fails earlier in service.
Skiving Thickness Reference by Bag Part
| Bag part | Typical finished thickness aim | Why |
|---|---|---|
| Folded top edge | Thin, tapering to full body | Clean fold line, no bulk |
| Seam allowance | Reduced enough to flatten the seam | Flat seam, no skipped stitches |
| Strap end at a ring | Reduced to fold around hardware | Flush fold, even wear |
| Base and back panel | Left at full substance | Load carrying and shape retention |
| Handle body | Left thick, ends skived | Strength with a foldable end |
| Pocket top | Reduced to fold or bind | Uniform opening edge |
| Zipper end | Reduced to tape thickness | Panel sits flat beside the tape |
Measuring Thickness in Production
Thickness is only controlled if it is measured.
Gauges and Where to Use Them
A flat-foot gauge is the basic instrument.
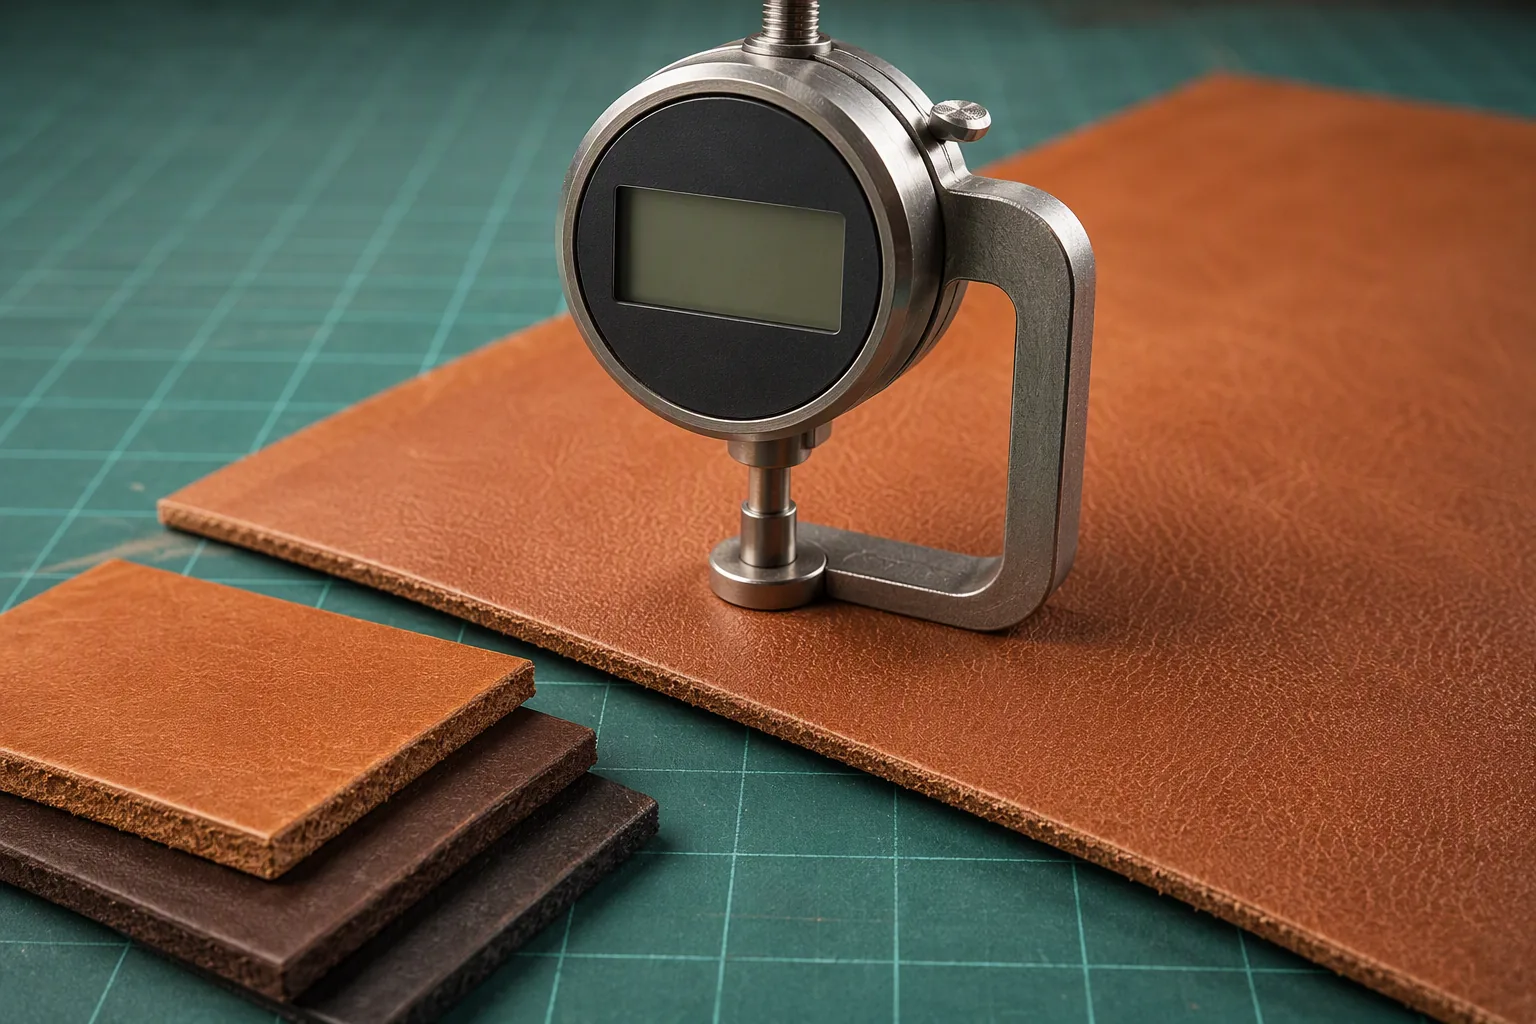
A presser-foot gauge measures the thickness of leather between two flat surfaces, and it should be used at defined points rather than wherever is convenient. Measurement points are best marked on the pattern, so the same place is checked on every panel.
Measuring the Right Places
Where you measure changes the answer.
Measuring only at the centre of a panel reports the friendliest number in the hide. For bag work, measurement should cover the spine and belly areas, the cut edge, the skived edge and the fold area, because that is where the material will be judged in use.
Recording and Trending
Records turn measurement into control.
Thickness readings should be logged per lot and per operation, with the machine setting alongside, so drift is visible before it reaches a customer. A shift that starts reading two tenths of a millimetre high is a machine or material problem, not a coincidence.
Checking After Skiving
The skived area needs its own check.
The depth of the reduction, the length of the taper and the condition of the cut edge should all be confirmed after skiving, because these are the values that decide whether the fold sits flat and whether the edge finish will hold.
Measurement Points and What They Reveal
| Measurement point | What it reveals | Action if out of tolerance |
|---|---|---|
| Spine area of the hide | Whether incoming material matches specification | Reject or re-split the lot |
| Belly area | Natural variation and risk of thin, stretchy panels | Reallocate to non-critical parts |
| Cut edge of a panel | True usable thickness at the edge | Re-cut or re-split |
| Skived area after reduction | Whether the machine held its setting | Reset the machine and re-check |
| Fold line after folding | Whether the finished fold is flat | Increase reduction and resample |
| Seam area with allowances stacked | Whether the seam will press flat | Thin the allowances further |
Thickness Specification and Tolerances
A specification without a tolerance is a wish.
Writing the Thickness Figure
The figure needs a range, not a single number.
Leather is a natural material, so a specification should state a target thickness with an acceptable range, and name where that range applies. A single number invites disputes that neither side can win, because no two panels measure identically.
Natural Variation versus Process Error
Two sources of deviation need different responses.
Variation that follows the anatomy of the hide is expected and managed by allocating panels sensibly. Variation that comes from a machine setting, a worn blade or a mis-fed panel is a process error and should be corrected and re-checked immediately.
Tolerance by Panel Role
Not every panel deserves the same tolerance.
Load-bearing panels benefit from a tighter lower limit, because a thin base fails early, while decorative or lining-side panels can accept a wider range. Writing tolerances by panel role is more useful than writing one tolerance for the whole bag.
Specification Fields
| Field | What to write | Why it matters |
|---|---|---|
| Target thickness | Nominal figure with unit | Common reference point |
| Tolerance range | Acceptable minimum and maximum | Prevents disputes over natural variation |
| Measurement points | Where the figure applies on the hide or panel | Makes the number meaningful |
| Skived areas | Depth and taper length per part | Ensures the fold behaves consistently |
| Measurement method | Gauge type and checking frequency | Keeps results comparable between lots |
| Condition at measurement | Whether measured as received or after conditioning | Moisture changes thickness readings |
| Non-conformance action | Reject, re-split or reallocate | Prevents improvised decisions at the bench |
Edge Thickness, Folds and Seams
Most visible quality sits within a few millimetres of the edge.
Folded Edges
A folded edge is a thickness calculation.
The height of the fold, the substance of the leather and the depth of skiving must all agree, or the fold will be bulky, wavy or cracked along the crest. Sampling is the only reliable way to fix that combination before bulk production.
Bound and Painted Edges
Edge finishing depends on a thin, even edge.
Painted edges need a smooth, squared substrate, and bound edges need enough flexibility to wrap without cracking. If the edge is too thick or uneven, the finish will build unevenly and fail at the first stress point.
Seam Construction
Thickness decides how a seam behaves in use.
Thick seams resist pressing, sit proud of the surface and accumulate more wear than the panels around them. Planning where the thick and thin edges meet, and which side sits on top, is what keeps a seam visually straight.
Skiving Faults and Their Causes
Most skiving problems repeat, and all of them are preventable.
Cut Too Deep or Too Shallow
Depth errors are the most common fault.
A cut that is too deep leaves a weak, fibrous edge that stretches and tears; a cut that is too shallow leaves bulk that will not fold. Both usually trace back to a machine setting that was not verified against a gauge at the start of the shift.
Ragged or Torn Edges
Edge quality reveals blade condition.
A dull or chipped blade tears the fibres instead of cutting them, producing a fuzzy edge that takes up edge paint unevenly and fails earlier. Blade condition should be checked on a schedule, not when a fault appears.
Waviness and Distortion
Uneven feed shows up as a wave.
Feeding a panel at an inconsistent angle or speed produces a wavy skived edge and, in thin material, distortion across the whole panel. Consistent feed technique is a training issue as much as a machine issue.
Faults, Causes and Corrections
| Fault | Usual cause | Correction |
|---|---|---|
| Cut too deep | Setting not verified, gauge not used | Reset the machine, re-check with a gauge |
| Cut too shallow, fold bulky | Depth set from a previous job | Re-set per part and re-sample the fold |
| Ragged, fibrous edge | Dull or chipped blade | Replace the blade, re-check the sample |
| Wavy skived edge | Inconsistent feed angle or speed | Retrain, reduce feed speed, check the guide |
| Panel distortion | Material too thin or too moist | Reallocate the panel, condition the leather |
| Steps visible after folding | Taper too abrupt | Lengthen the taper, re-sample |
| Uneven edge paint build-up | Rough or uneven skived surface | Improve cut quality before finishing |
Machine Setup, Blades and Maintenance
Consistency comes from the machine, not from the operator’s patience.
Daily Setup Checks
Setup is a short routine that prevents long problems.
The gap or depth setting, the feed roller condition, the blade edge and the guide position should all be confirmed at the start of a run, and the first panel produced should be measured rather than assumed.
Blade Management
Blades are consumables with a schedule.
Sharp blades cut cleanly and reduce heat and drag on the material, while a worn blade forces the leather to tear. Tracking blade changes by running hours or panel count keeps the schedule objective.
Consumables and Environment
The workshop around the machine matters.
Rollers wear, guides drift and moisture affects how leather behaves as it passes through the machine. A workshop that controls humidity, as discussed in our guide to moisture control, gets more consistent skiving results than one that does not.
Thickness and Bag Construction
Thickness decisions belong to construction planning.
Reinforcement versus Substance
Structure can come from reinforcement or from thick leather.
A thin panel with a suitable reinforcement can be stiffer than a thick panel with none, and it will usually be lighter. The choice depends on the bag, but making it deliberately — rather than by default — is what keeps weight and structure predictable.
Weight and Hand Feel
Customers feel thickness before they see it.
A bag that is too thick in the wrong place feels heavy and unrefined, while a bag that is too thin in the wrong place feels flimsy. Thickness planning is therefore part of how the product is perceived, not just how it is assembled.
Consistency Across a Run
Thickness consistency is what makes a run repeatable.
When the same panels are thinned to the same values on every unit, the bag behaves the same way in folding, stitching, edge finishing and use. That repeatability is what allows a factory to promise a delivery date and a quality level at the same time.
Thickness by Bag Type
The right substance depends on the product, not on preference.
Matching Substance to Structure
Each bag type has its own working range.
A structured tote needs panels that hold their shape, a soft shoulder bag needs material that drapes, and a small wallet needs material thin enough to fold repeatedly without cracking. These are not aesthetic preferences but mechanical requirements.
Reading a Thickness Table
Thickness tables are starting points, not rules.
The figures below describe where thickness is usually needed in each bag type, and the parts where thinning is normally applied. A tannery’s available substances and the design’s construction details will shift the numbers, so the table is a planning tool rather than a specification.
Bag Type and Thickness Planning
| Bag type | Panels where thickness is retained | Parts usually thinned | Planning note |
|---|---|---|---|
| Structured tote | Base, back, top frame | Fold lines, seam allowances | Shape retention comes from the base and frame |
| Soft shoulder bag | Handle and strap bodies | Whole body split for drape | Drape is designed, not accidental |
| Diaper and family bag | Base, back panel, handle anchors | Pockets, mouth edges, straps at hardware | Load and repeated opening drive the planning |
| Backpack | Base, back panel, shoulder straps | Pocket edges, zipper ends, trim folds | Load paths run through back and straps |
| Wallet and small goods | Spine where hinges form | Every fold and seam | Thinnest overall working range |
| Laptop sleeve or case | Corner reinforcement, base | Panel edges, closure folds | Protection favours a firm, even panel |
| Tote with coated panels | Structural frame areas | Material to be laminated | Coating and splitting must be planned together |
Working With Tannery Thickness Options
What arrives from the tannery sets what the factory can do.
Ordering to Substance
Substance should be ordered for the product.
Tanneries offer leather in defined substance ranges, and ordering the closest available range reduces the amount of splitting required. Every reduction step costs time, generates waste and moves the material further from its original fibre structure.
When to Split In-House
Splitting in the factory has advantages.
Keeping splitting in-house gives a factory control over the exact gauge, lets it respond to variation within a delivery, and avoids waiting for a tannery to re-produce a special substance. It also means the factory owns the quality of that step.
Splitting Depth and Fibre Structure
Deep splitting changes the material.
Reducing a leather far below its natural substance exposes a looser fibre layer that can feel spongy, finish unevenly and lose the tight grain surface. When a design needs very thin leather across a large area, ordering material already produced thin is usually better than splitting a thick hide down.
How Much Reduction Is Reasonable
| Operation | Typical purpose | Risk if taken too far |
|---|---|---|
| Light split within natural variation | Even out a delivery | Minimal |
| Moderate split to a product gauge | Meet a design substance | Grain tightness begins to change |
| Heavy split to a thin working gauge | Thin lightweight panels | Weak fibre layer, finishing problems |
| Local skiving on folds and edges | Clean folds and flat seams | Cracking or tearing at the fold if too deep |
| Skiving strap ends at hardware | Flush folds around fittings | Early wear and stretch at the attachment |
Sampling, Bulk and Change Control
Thickness problems are cheapest to solve at the sample stage.
What Sampling Must Prove
A sample should prove the thickness plan works.
The sample bag should demonstrate that every fold sits flat, every seam presses without bulk, every edge finishes cleanly and every hardware point sits flush. If any of those fail on the sample, they will fail on every unit of the order.
Bulk Verification
Sampling approval does not remove the need for checks.
Production should verify thickness at incoming goods, at panel preparation and at the finished bag, with the same measurement points used each time. Checking only the finished bag means the reason for a fault is already out of reach.
Controlling Changes
Thickness changes ripple through a bag.
Changing the substance of one panel affects folding, seam bulk, edge finishing, hardware alignment and the weight of the finished product, so a change must be re-sampled rather than substituted. Written specifications and a defined change process are what prevent a supplier from quietly using a different gauge.
Common Mistakes and How to Avoid Them
| Mistake | Consequence | Prevention |
|---|---|---|
| Specifying thickness without a tolerance | Endless disputes over normal variation | Write a range and name where it applies |
| Measuring only the friendly part of a panel | Tests pass while production struggles | Fix measurement points on the pattern |
| Skiving too deep to make folding easy | Weak edges that crack and stretch in use | Set depth per part from a sample fold |
| Leaving a fold at full substance | Bulky, wavy top edges | Plan skiving into the pattern |
| Ignoring blade condition | Ragged edges and uneven edge paint | Track blade changes on a schedule |
| Splitting a hide down for a thin design | Loose fibre layer that finishes poorly | Order thin leather rather than over-splitting |
| Changing substance without re-sampling | Folds, seams and hardware all shift | Treat thickness as a controlled change |
| Checking thickness only on the finished bag | The cause of a fault cannot be identified | Verify at incoming, preparation and final stages |
Frequently Asked Questions
What is the difference between splitting and skiving leather?
Splitting reduces a whole hide or panel to an even target thickness between rollers and a band knife. Skiving reduces thickness only in a specific area, such as a fold line or a seam allowance, removing a taper or a step. Splitting sets the working substance of the material; skiving makes individual folds and seams possible.
Can a factory skive leather that is already very thin?
Only with care. Thin leather leaves very little margin before the cut reaches a weak fibre layer, and skiving too far produces an edge that stretches, cracks or tears. Where a design needs a much thinner edge, the more reliable route is to start from leather produced thin rather than to thin it down in the factory.
Does skiving weaken the leather at the fold?
It reduces the material at the bend, which is exactly where a fold needs less substance to sit flat. The risk is not skiving itself but skiving too deep, which removes the fibre that should carry the load. A controlled reduction with a taper, verified by folding a real sample, gives a clean fold without sacrificing strength.
How is leather thickness measured in production?
With a flat-foot gauge at defined points marked on the pattern, typically covering the spine and belly areas, the cut edge, the skived area and the fold. Measuring only the centre of a panel reports the most favourable number in the hide and hides the variation that causes problems later.
What tolerance should be written into a leather specification?
A target figure with an acceptable minimum and maximum, plus a statement of where that range applies. Leather varies naturally across a hide, so a single number cannot be met everywhere. Writing tolerance by panel role — tighter on load-bearing panels, wider on decorative ones — is more workable than one tolerance for the whole bag.
Why do skived edges sometimes look ragged?
Usually because the blade is dull, chipped or set at the wrong angle, so the leather is torn rather than cut. Ragged edges take up edge paint unevenly and are more likely to fail at the first stress point. Blade condition should be checked on a schedule rather than after a fault appears.
Should thick leather or reinforcement be used to make a bag hold its shape?
Both work, and the lighter option is usually reinforcement. A thinner panel with a suitable reinforcement can be stiffer than a thick panel with none, while adding less weight and folding more predictably. The decision should be made deliberately during construction planning.
Does splitting leather change how it finishes?
Yes, particularly at deep reductions. Splitting exposes a looser fibre layer on the flesh side and, taken far enough, affects the tightness of the grain surface, so the leather can finish unevenly and feel spongier. Ordering leather at a closer substance is generally better than splitting a thick hide down substantially.
Which bag parts should never be skived?
The parts that carry load or hold shape — bases, back panels, handle bodies and anchor areas. Reducing thickness there to save weight or to make assembly easier is the most common cause of sagging, stretching and torn attachment points later in the product’s life.
Why does thickness matter for a diaper bag or family bag?
Those bags are opened many times a day and carried with a heavy, shifting load, so thickness planning has to cover the base and back panel, the handle anchors and every repeated fold at the mouth of the bag. Pockets and zipper areas are usually thinned so the interior stays flat and accessible.
How often should skiving machines be checked during a run?
At the start of each run or shift, with the first panel measured rather than assumed, and then at defined intervals through the run. Settings, roller condition, guide position and blade edge should all be part of that routine, because a small drift early in a shift becomes a large amount of rework later.
The Bottom Line
Thickness is designed, not inherited.
Splitting sets the working substance of the leather, skiving makes folds, seams and hardware possible, and both operations decide how the finished bag behaves in the hand and in use. Treat them as planned production steps with recorded settings, defined measurement points and real tolerances.
For buyers, the practical consequence is straightforward. Ask for thickness as a range with named measurement points, ask which parts are skived and to what depth, ask how the factory verifies the result, and approve the combination on a real sample bag rather than a swatch. That is what turns a thickness figure into a bag that folds, finishes and lasts the way it was meant to.
